I used to think chocolate cupcakes were just… chocolate cupcakes. You know, the kind you grab at a birthday party, eat one, and forget about it five minutes later.
Then I made them from scratch.
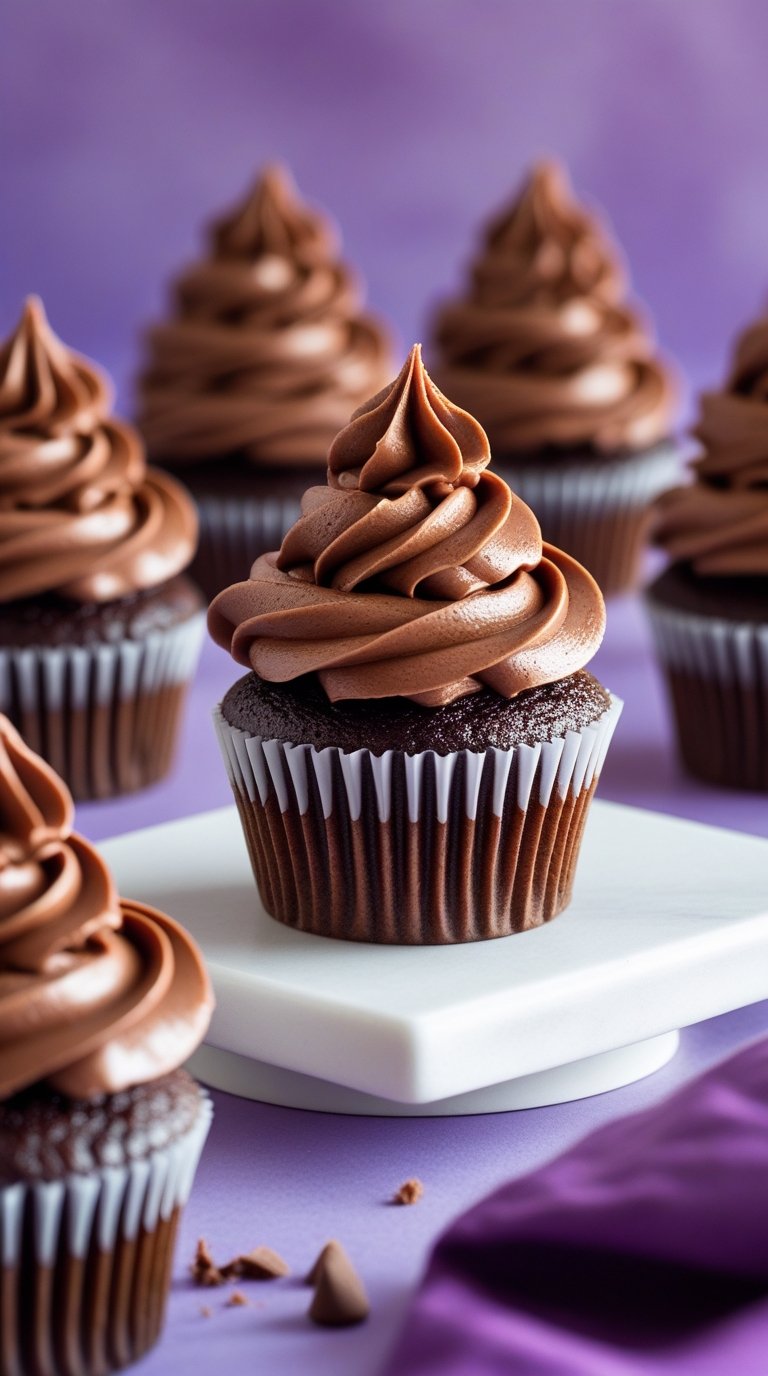
The first time I pulled a batch out of the oven, I stood there staring at them like I’d just discovered something that had been hiding in plain sight my whole life. They were taller. Richer. And when I bit into one (still warm, because I have zero patience), the texture was so different from anything I’d ever had before.
These aren’t dry. They’re not overly sweet. And they definitely don’t taste like they came from a box.
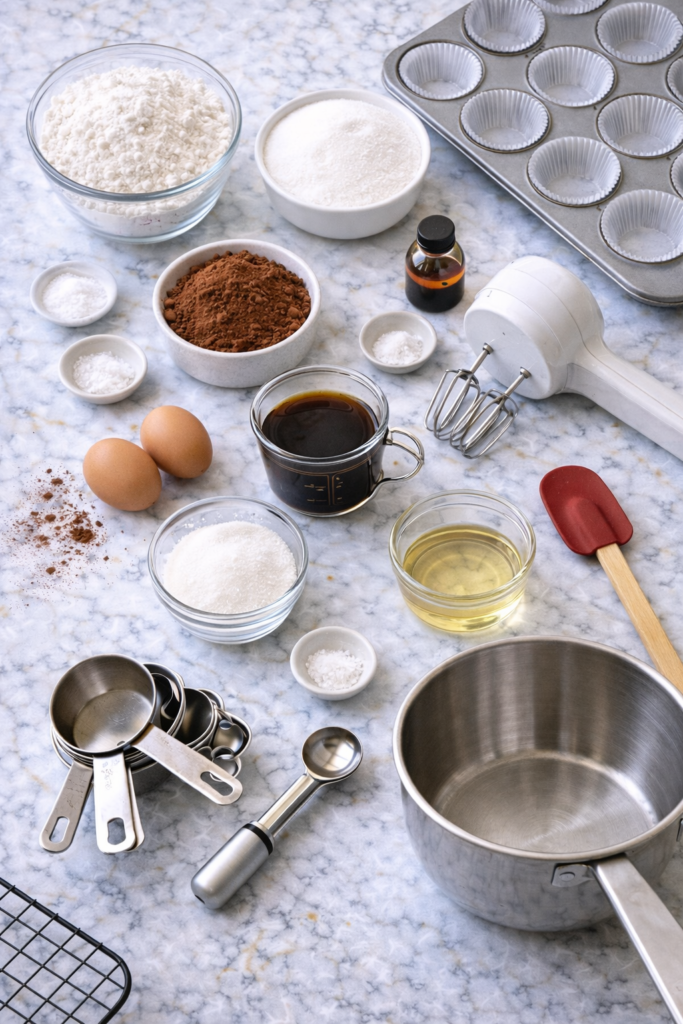
What You’ll Need
For the Cupcakes
| Ingredient | Amount | Notes |
|---|---|---|
| All-purpose flour | 1¾ cups | Spoon and level for accuracy |
| Granulated sugar | 2 cups | Yes, it seems like a lot |
| Unsweetened cocoa powder | ¾ cup | Dutch-process is my favorite |
| Baking soda | 2 teaspoons | Fresh is key |
| Baking powder | 1 teaspoon | Check expiration date |
| Salt | 1 teaspoon | Balances the sweetness |
| Large eggs | 2 | Room temperature |
| Buttermilk | 1 cup | Room temperature |
| Strong brewed coffee | 1 cup | Cooled (or use hot water) |
| Vegetable oil | ½ cup | Keeps them moist |
| Vanilla extract | 2 teaspoons | Pure, not imitation |
For the Frosting
| Ingredient | Amount | Notes |
|---|---|---|
| Unsalted butter | 1 cup (2 sticks) | Softened |
| Powdered sugar | 3½ cups | Sifted if lumpy |
| Unsweetened cocoa powder | ½ cup | For deep chocolate flavor |
| Heavy cream | ⅓ cup | Adjust for consistency |
| Vanilla extract | 2 teaspoons | The good stuff |
| Salt | ¼ teaspoon | Don’t skip this |
Tools You’ll Need
You may also like : best chocolate chip cookie recipe
✓ Muffin tin (standard 12-cup)
✓ Cupcake liners
✓ Large mixing bowl
✓ Medium mixing bowl
✓ Whisk
✓ Electric mixer (hand or stand mixer)
✓ Rubber spatula
✓ Measuring cups and spoons
✓ Ice cream scoop or ¼ cup measure
✓ Cooling rack
✓ Piping bag and tip (optional)
Pro Tips
☕ Coffee is your secret weapon.
I know it sounds weird to put coffee in chocolate cupcakes, but trust me on this one. It doesn’t make them taste like coffee at all. It just makes the chocolate flavor so much deeper and richer. If you’re sensitive to caffeine or making these for kids, hot water works fine, but the coffee really takes these to another level.
🌡️ Room temperature ingredients matter more than you think.
Cold eggs and buttermilk won’t mix properly with the other ingredients, and you’ll end up with a lumpy batter. I usually just set mine on the counter about 30 minutes before I start baking. If you forget (I do this all the time), you can put the eggs in a bowl of warm water for 5-10 minutes.
🥄 Don’t overmix the batter.
This was my biggest mistake when I first started making these. The batter will be really thin and liquidy, and it’s tempting to keep stirring thinking something’s wrong. But that thin consistency is exactly what you want. Overmixing develops the gluten in the flour and makes the cupcakes dense and tough. Mix just until you don’t see any dry flour, then stop.
🧁 Fill the liners about ⅔ full.
I used to fill mine way too much and they’d overflow and create weird mushroom tops. Not cute. An ice cream scoop is honestly the best tool for this because it gives you the same amount every time.
❄️ Let them cool completely before frosting.
I’ve made the mistake of frosting warm cupcakes more times than I’d like to admit, and the frosting just melts into a sad puddle. I know waiting is hard (especially when they smell that good), but give them at least 30 minutes on a cooling rack.
You’ll love these too : hot chocolate recipe
How to Make Chocolate Cupcakes

Step 1: Prep Everything
Preheat your oven to 350°F. Line your muffin tin with cupcake liners.
Brew your coffee and let it cool down while you’re prepping everything else. I usually just make a cup and drink half of it while I’m getting ingredients ready.
Step 2: Mix the Dry Ingredients
In a large bowl, whisk together the flour, sugar, cocoa powder, baking soda, baking powder, and salt.
Make sure you really whisk it well so the cocoa powder doesn’t clump. I usually spend a good 30 seconds on this step.
Step 3: Add the Wet Ingredients
Add the eggs, buttermilk, coffee (or water), oil, and vanilla to the dry ingredients.
Here’s where it gets interesting. Use a whisk or electric mixer on low speed and mix until everything is just combined.
The batter will look really thin. Like, almost too thin. That’s normal. Don’t panic.
Step 4: Fill and Bake
Use an ice cream scoop or a ¼ cup measure to fill each cupcake liner about ⅔ full. This usually makes 18-20 cupcakes for me, depending on how generous I am with the scooping.
Bake for 18-22 minutes. They’re done when a toothpick inserted in the center comes out with just a few moist crumbs. The tops should spring back when you lightly touch them.
Step 5: Cool
Let them cool in the pan for 5 minutes, then transfer to a cooling rack.
This is the hardest part because your kitchen will smell incredible and you’ll want to eat one immediately.
Step 6: Make the Frosting
While the cupcakes are cooling, make your frosting. Beat the softened butter in a bowl for about 2 minutes until it’s light and fluffy.
Add the powdered sugar and cocoa powder. Start mixing on low speed (unless you want a powdered sugar snowstorm in your kitchen), then increase to medium-high.
Add the heavy cream, vanilla, and salt. Beat for another 2-3 minutes until the frosting is smooth and fluffy.
If it’s too thick, add a tablespoon more cream. If it’s too thin, add more powdered sugar.
Recommended for you : chocolate ganache recipe
Step 7: Frost
Once the cupcakes are completely cool, frost them however you like. I usually just use a knife and swirl it on top because I’m lazy, but you can get fancy with a piping bag if that’s your thing.
Substitutions and Variations
| Instead of this… | Use this… | Result |
|---|---|---|
| Buttermilk | 1 cup milk + 1 tbsp vinegar (sit 5 min) | Works perfectly |
| Coffee | Hot water | Still good, less intense |
| Vegetable oil | Melted coconut oil | Slight coconut hint |
| All-purpose flour | 1:1 gluten-free blend | Slightly different texture |
| Regular milk | Non-dairy milk + vinegar | Dairy-free version |
Want to Make These Extra Decadent?
Add chocolate chips: Fold in ½ cup of chocolate chips to the batter before baking.
Espresso boost: Add 1 tablespoon of espresso powder along with the coffee for an even deeper chocolate flavor.
Different frosting options: Cream cheese frosting works really well on these too. Or keep it simple with a chocolate ganache (just heat equal parts heavy cream and chocolate chips until smooth).
Filled cupcakes: Use a cupcake corer or knife to cut out the center, fill with ganache or marshmallow fluff, then frost normally. 🤯
Make Ahead Tips
| Task | Timeline | Storage Method |
|---|---|---|
| Bake cupcakes | Up to 3 months ahead | Freeze unfrosted in airtight container |
| Make frosting | Up to 1 week ahead | Refrigerate, bring to room temp before using |
| Frost cupcakes | 1 day ahead | Store at room temp in airtight container |
| Complete recipe | Day before event | Bake day 1, frost day 2 for freshness |
Nutrition Information
Per cupcake (based on 18 cupcakes with frosting):
| Nutrient | Amount |
|---|---|
| Calories | 285 |
| Fat | 12g |
| Saturated Fat | 5g |
| Carbohydrates | 43g |
| Sugar | 32g |
| Protein | 3g |
| Sodium | 240mg |
| Fiber | 2g |
Pairing Suggestions
These cupcakes are rich enough to stand on their own, but they pair really well with:
☕ Coffee or espresso for an afternoon treat
🥛 Cold milk (the classic combo that never fails)
🍨 Vanilla ice cream if you want to turn them into a dessert situation
🍓 Fresh berries on the side to cut through the richness
They’re also perfect for birthdays, potlucks, bake sales, or just because it’s Tuesday and you want chocolate.
Leftovers and Storage
Storage Guide
| Frosting Type | Location | Duration | Notes |
|---|---|---|---|
| Buttercream | Room temp | 3 days | Keep in airtight container |
| Cream cheese | Refrigerator | 5 days | Bring to room temp before serving |
| Unfrosted | Room temp | 5 days | Stays fresher longer |
| Frozen (unfrosted) | Freezer | 3 months | Thaw at room temp 2-3 hours |
Pro tip: I usually make a double batch and freeze half for later. Future you will be very grateful.
Common Mistakes (And How to Avoid Them)
| Problem | Cause | Solution |
|---|---|---|
| Cupcakes sank in middle | Underbaked or oven opened too early | Bake full time, don’t peek before 17 min |
| Dry, crumbly texture | Overmixed or overbaked | Mix just until combined, check at 18 min |
| Grainy frosting | Butter too cold | Use room temp butter, beat longer |
| Mushroom tops | Overfilled liners | Fill only ⅔ full |
| Dense, heavy cupcakes | Old leavening agents | Use fresh baking soda/powder |
FAQ
Why is my batter so thin?
It’s supposed to be! The thin batter creates those incredibly moist cupcakes. If it looks more like hot chocolate than cake batter, you’re doing it right.
Can I use natural cocoa powder instead of Dutch-process?
Yes, but the flavor will be slightly different. Dutch-process cocoa has a smoother, less acidic taste. Natural cocoa powder will give you a more traditional chocolate flavor with a bit more tang.
My cupcakes sank in the middle. What happened?
This usually means they were underbaked or you opened the oven door too early. Make sure you’re baking them for the full time and not peeking until at least the 17-minute mark.
Can I make mini cupcakes instead?
Absolutely. You’ll get about 36-40 mini cupcakes. Bake them for 10-12 minutes instead of 18-22.
How do I get the frosting smooth and not grainy?
Make sure your butter is properly softened (it should leave an indent when you press it) and beat it long enough. If your frosting is grainy, it usually means the butter was too cold or you didn’t beat it enough.
Can I skip the coffee?
Yes, just use hot water instead. The cupcakes will still be good, just not quite as rich.
How do I know when they’re done?
Insert a toothpick into the center. It should come out with a few moist crumbs, not wet batter. The tops should also spring back when lightly touched.
Time Breakdown
| Task | Time |
|---|---|
| Prep ingredients | 10 minutes |
| Mix batter | 5 minutes |
| Bake | 18-22 minutes |
| Cool | 30 minutes |
| Make frosting | 10 minutes |
| Frost cupcakes | 10 minutes |
| Total | About 1.5 hours |
Wrapping Up
I’ve made these cupcakes more times than I can count at this point. For birthdays. For coworkers. For random Tuesday evenings when I needed something sweet. And every single time, they disappear faster than I expect.
The recipe makes enough that you can freeze half for later, or you can just make them and watch them vanish within 48 hours. Both are valid options.
Give these a try and let me know how they turn out for you in the comments below. Did you add anything extra? Change up the frosting? Eat three of them in one sitting? I want to hear about it.


