Most people have never made chicken gravy from scratch. They reach for the packet, add water, and call it a day.
And honestly? That’s fine. Until you taste the real thing.
Homemade chicken gravy takes 20 minutes. It uses ingredients you already have. And the flavor difference is so significant, you’ll feel a little embarrassed you waited this long.
Stick around, because there’s a pro tip in here that professional cooks swear by, and most home cooks have no idea about it. 👀
Quick Snapshot
| ⏱ Prep Time | 5 minutes |
| 🍳 Cook Time | 15 minutes |
| 🕐 Total Time | 20 minutes |
| 🍽 Servings | 4–6 |
| 📊 Difficulty | Easy |
| 💰 Cost | Budget-friendly |
What You’ll Need
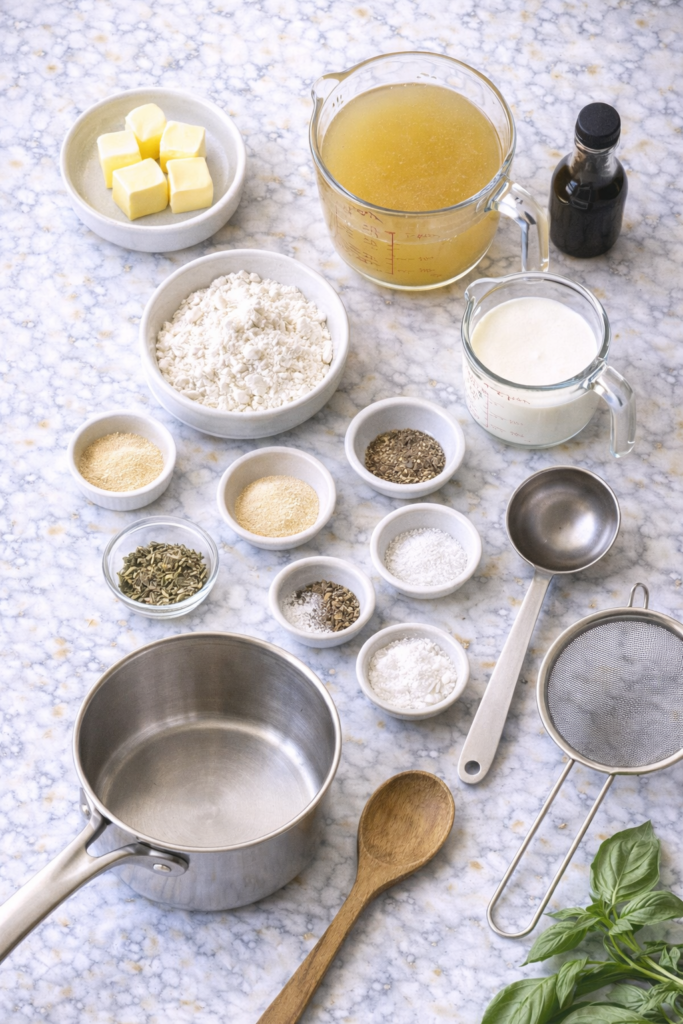
The Gravy Base
| Ingredient | Amount | Notes |
|---|---|---|
| Unsalted butter | 3 tablespoons | Or swap for pan drippings (see Pro Tips) |
| All-purpose flour | 3 tablespoons | Cornstarch works too — see Substitutions |
| Chicken broth | 2 cups | Low-sodium gives you the most control |
| Whole milk | ½ cup | Or heavy cream for a richer result |
| Garlic powder | 1 teaspoon | |
| Onion powder | ½ teaspoon | |
| Dried thyme | ½ teaspoon | Fresh thyme also works |
| Black pepper | ¼ teaspoon | Freshly cracked is noticeably better |
| Salt | To taste | Season at the very end only |
Optional Add-Ins (Worth It Every Time)
| Add-In | Amount | What It Does |
|---|---|---|
| Pan drippings from roasted chicken | 2–3 tablespoons | Adds deep, roasted savory flavor |
| Worcestershire sauce | 1 teaspoon | Rich, umami depth |
| White wine or apple cider vinegar | A splash | Brightens the whole sauce |
| Fresh rosemary or sage | 1 sprig | Earthy, aromatic layer |
Tools You’ll Need
Recommended for you : sesame chicken recipe
- Medium saucepan (2–3 quart)
- Balloon whisk — not a fork, not a spoon, a whisk
- Measuring cups and spoons
- Wooden spoon or silicone spatula
- Fine mesh strainer (optional, but gives restaurant-level smoothness)
- Ladle for serving
💡 No whisk? A fork can work in a pinch, but expect more effort to keep it lump-free.
Pro Tips
These are the things nobody tells you the first time. Learn them now and skip the gravy disasters entirely.
1. Cook the Roux for a Full 2 Minutes
“Raw flour taste is the #1 reason homemade gravy falls flat.”
After combining butter and flour, most people rush straight to adding liquid. Don’t.
Let the roux cook on medium heat, stirring constantly, for a full 2 minutes until it turns slightly golden and smells nutty. That one step takes your gravy from good to genuinely great.
2. Warm Your Broth Before Adding It
Cold broth hitting a hot roux = lumpy gravy. Every time.
The fix: Microwave your broth for 60 seconds before pouring it in. This one habit eliminates the most common gravy mistake home cooks make.
3. Pan Drippings Are Liquid Gold 🏆
This is what the pros know that most home cooks don’t.
After roasting chicken, there’s a layer of fat and concentrated juices left in the pan. That’s pure, concentrated flavor that took hours to develop.
Swap 2 tablespoons of butter for those drippings and your gravy will taste like it came from a restaurant kitchen. Biggest single upgrade you can make.
4. Add Broth Gradually, Not All at Once
Pour broth in ½ cup increments while whisking continuously.
Fast addition = lumps. Slow addition = silk. The whole process takes an extra 90 seconds and makes all the difference.
5. Season Only at the Very End
Broth already contains salt. As the gravy reduces and concentrates, so does the sodium. Season too early and you’ll end up with something too salty to fix.
Taste right before serving, then season.
You may also like : chicken chili recipe
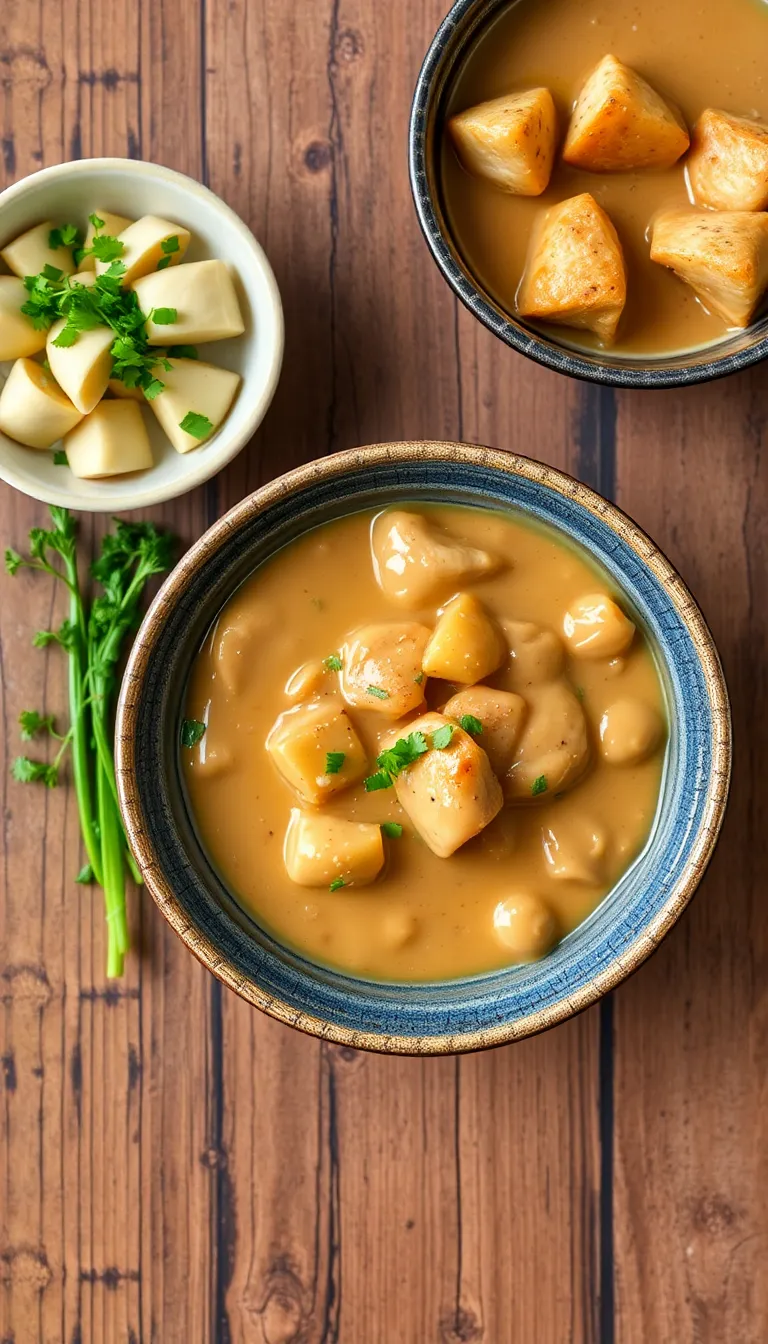
How to Make Chicken Gravy

Step 1: Make the Roux
Melt butter in your saucepan over medium heat until just bubbling. Add all the flour at once and whisk immediately.
Cook for exactly 2 minutes, stirring constantly. The mixture starts thick and pasty, then slowly turns a light golden color. You’ll catch a faint nutty smell. That’s your cue to move to the next step.
Step 2: Add the Broth (Slowly)
Pour in your warm chicken broth, about half a cup at a time. Whisk vigorously after each pour before adding more.
By the third addition, the sauce will come together into something smooth and pourable. You’ll see it happen in real time.
Step 3: Season
Add garlic powder, onion powder, dried thyme, black pepper, and any optional add-ins (drippings, Worcestershire, wine).
Stir to combine.
Step 4: Simmer and Thicken
Bring to a gentle simmer over medium-high heat. Cook for 5–7 minutes, stirring occasionally.
The spoon test: Dip a spoon in. It’s ready when gravy coats the back and holds a clean line when you run your finger through it.
You’ll love these too : chicken lasagna recipe
Step 5: Finish and Serve
Reduce heat to low. Pour in milk or cream and stir to combine. Let it heat through for 1–2 minutes.
Taste. Add salt as needed.
For ultra-smooth gravy, strain through a fine mesh strainer before serving. That step alone is what separates “good gravy” from “where did you eat?”
Substitutions & Variations
Dietary Swaps
| Need | Swap | Notes |
|---|---|---|
| Gluten-free | Cornstarch (1.5 tbsp) instead of flour | Mix with 2 tbsp cold water first, add at the end |
| Dairy-free | Olive oil for butter, skip milk | Use 2.5 cups broth total |
| Lower calorie | Skim milk instead of whole | Slightly thinner result |
| Richer gravy | Heavy cream instead of milk | ~130 kcal per serving |
| Vegan | Vegetable broth + olive oil + oat milk | Still genuinely good |
Flavor Variations
| Variation | What to Do |
|---|---|
| Mushroom chicken gravy | Saute 1 cup sliced mushrooms in butter before adding flour |
| Herb gravy | Add fresh rosemary and sage alongside the thyme |
| Spicy gravy | A pinch of cayenne and smoked paprika for a subtle kick |
| Caramelized onion gravy | Cook half an onion in butter until golden before making the roux |
Make Ahead Tips
Good news: chicken gravy is actually better when made ahead. The flavors deepen as it sits.
| Timing | Method |
|---|---|
| 1–2 days ahead | Make fully, cool, store in a jar in the fridge |
| Up to 4 days ahead | Reheat slowly with a splash of warm broth to loosen |
| Up to 3 months | Freeze in an airtight bag or container |
Reheating: Stovetop over low heat only. Whisk in warm broth, one tablespoon at a time, until it loosens back to the right consistency.
⚠️ Skip the microwave when reheating. It heats unevenly and can cause the sauce to separate and go grainy.
Nutritional Breakdown
Per ¼ cup serving, made with whole milk
| Nutrient | Amount |
|---|---|
| Calories | ~90 kcal |
| Total Fat | 6g |
| Saturated Fat | 3.5g |
| Carbohydrates | 6g |
| Protein | 2g |
| Sodium | ~250mg |
| Fiber | 0.2g |
With heavy cream: ~130 kcal per serving With pan drippings replacing butter: Similar calories, significantly more flavor
What to Serve It With
| Pairing | Why It Works |
|---|---|
| Mashed potatoes | The classic. No further explanation needed. |
| Roasted or pan-seared chicken | Pour directly over, let it soak in |
| Buttermilk biscuits | Southern comfort food at its most satisfying |
| White rice | Simple, filling, weeknight-perfect |
| Stuffing or dressing | Holiday table staple |
| Pot pie filling | Thicken slightly more and pour into your crust |
| Roasted cauliflower | Genuinely underrated combination |
Leftovers & Storage
In the fridge: Airtight container or jar for up to 4 days.
The gravy will thicken when cold. That’s completely normal — it loosens right back up when reheated with a splash of warm broth.
In the freezer: Freeze in a labeled, airtight container for up to 3 months.
Thaw overnight in the fridge before reheating. Don’t try to speed-thaw on the counter.
FAQ
Why is my gravy lumpy?
Almost always one of two causes: cold broth added to hot roux, or broth added too fast. Pour the gravy through a fine mesh strainer to fix it, or give it a quick blend with an immersion blender.
Can I make this without butter?
Yes. Olive oil works well as a swap. The flavor is slightly lighter but still genuinely good.
What’s the difference between broth-based and drippings-based gravy?
Broth gives you a clean, reliable flavor. Drippings give you something deeper and more complex from hours of roasting. Use both when you can.
Can I double the recipe?
Absolutely. Everything scales evenly. Just use a larger saucepan so you have room to whisk without splashing everywhere.
My gravy is too thick.
Whisk in warm broth or milk, one tablespoon at a time over low heat, until it loosens to the right consistency.
My gravy is too thin.
Let it simmer uncovered for a few more minutes. Or mix 1 teaspoon cornstarch with 1 tablespoon cold water and whisk it in. It thickens fast.
Does homemade actually taste different from packet gravy?
The first spoonful will answer that question. Packet gravy has a processed, slightly metallic undertone. Homemade has real depth and a flavor that lingers in the best way.
Can I use this as a pot pie base?
Yes. Reduce it slightly longer so it’s thicker than standard gravy, stir in your cooked chicken and vegetables, and pour into your pie crust.
Wrapping Up
Chicken gravy from scratch sounds like a project.
It really isn’t. 20 minutes. One pan. Ingredients you already have.
And a sauce that completely changes what a simple weeknight dinner can feel like.
The packet isn’t bad. This is just so much better.
Make it this week. Pour it over whatever sounds good to you tonight. Then come back here and leave a comment telling me how it turned out, what you served it with, and any tweaks you made. Every comment gets read. 👇


1 thought on “This Chicken Gravy Will Ruin Every Packet Mix For You Forever”