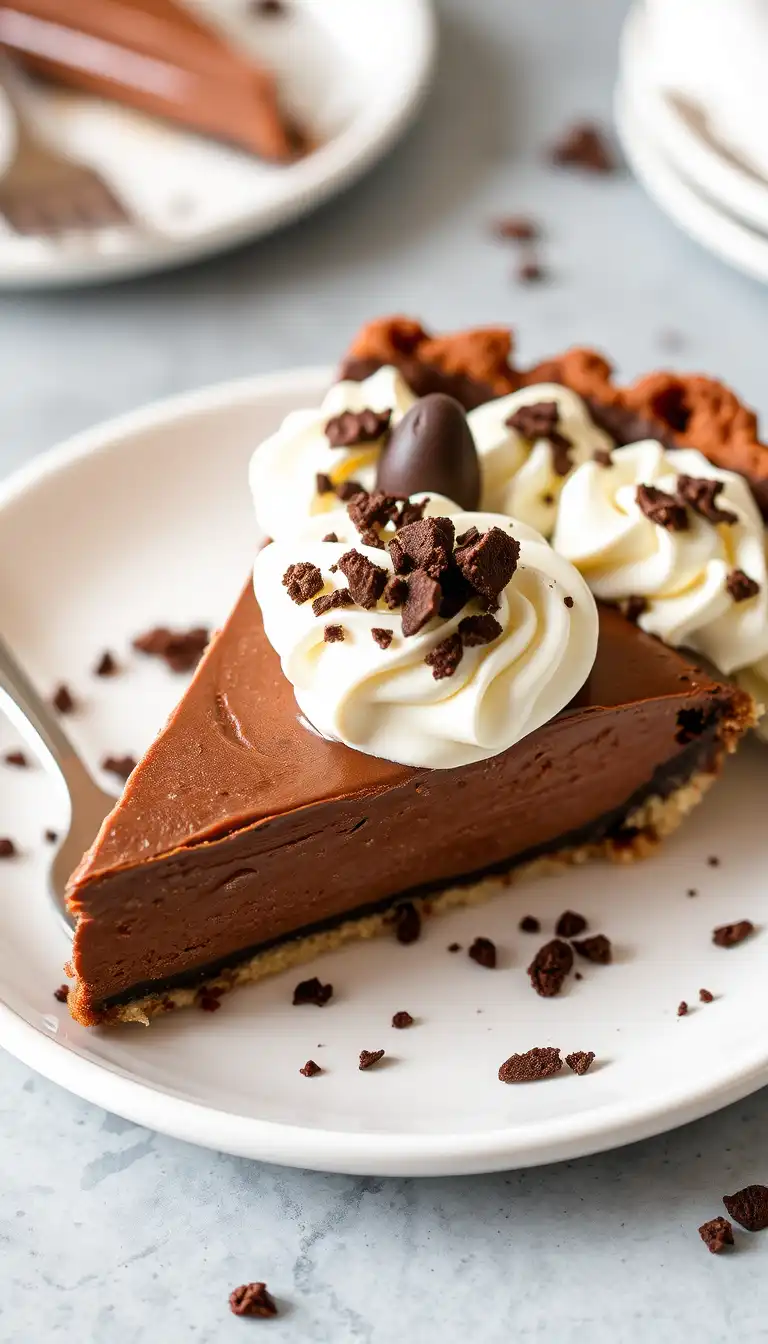
Silky, deep, impossibly smooth — and shockingly easy to pull off at home.
⏱ 30 min active🧊 4 hrs chill🍰 Serves 8⭐ Beginner-friendly
You’ve had chocolate pie before. Or at least, you think you have.
The store-bought version with the plastic crust and suspiciously shiny filling? That’s not chocolate pie. That’s chocolate-adjacent sadness in a foil pan.
This is chocolate pie. And after one bite, you’ll understand the difference immediately.
“The filling is so silky and intense, people go quiet after the first bite. That quiet? That’s the reaction you’re going for.” Grace Moser
This recipe takes about 30 minutes of active work, uses ingredients you likely already have, and produces something that looks and tastes like it came from a bakery.
⚠️Don’t Skip This
Stick around for the Pro Tips section. I’m sharing the one mistake that ruins most homemade chocolate pies — and it’s the one almost everyone makes on their first go.
30 min active
4 hrs chill time
8 servings
~$10 total cost
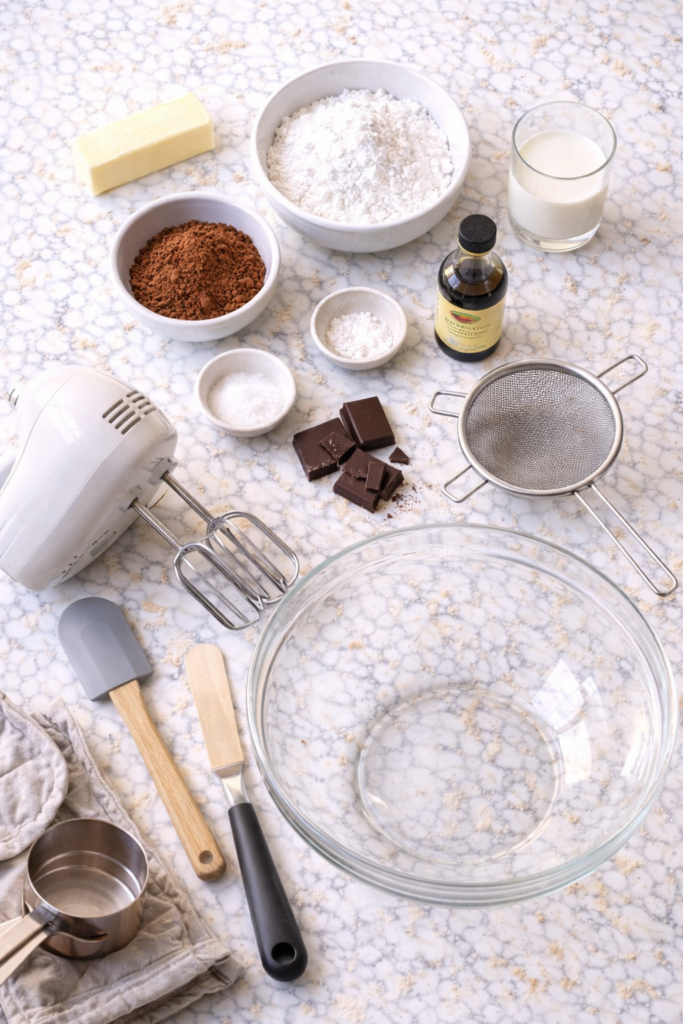
What You’ll Need
For the Oreo Cookie Crust
1½ cups Oreo crumbs (~20 cookies)
5 tbsp Unsalted butter, melted
2 tbsp Granulated sugar
For the Chocolate Filling
2 cups Whole milk
1 cup Heavy whipping cream
¾ cup Granulated sugar
¼ cup Cornstarch
¼ cup Dutch-process cocoa powder
½ tsp Fine sea salt
4 oz Semi-sweet chocolate bar, chopped
2 tbsp Unsalted butter
2 tsp Pure vanilla extract
For the Whipped Cream
1 cup Heavy whipping cream, cold
2 tbsp Powdered sugar
1 tsp Pure vanilla extract
💡
Ingredient Insight
Dutch-process cocoa is darker, smoother, and less acidic than natural cocoa. It gives this pie that deep, almost bakery-quality chocolate color and flavor. Worth grabbing if you don’t have it yet.
Tools You’ll Need
People also like : dubai chocolate bar recipe
9-inch pie dish
Medium saucepan
Whisk
Rubber spatula
Hand or stand mixer
Mixing bowls
Measuring cups + spoons
Fine mesh strainer
Plastic wrap
Food processor (optional)
Pro Tips
These are the things I wish I’d known the first few times I made this.
1
Never walk away from the stove. The filling scorches the second you stop stirring. Keep your whisk moving constantly from the moment heat goes on to the moment it comes off. Scorched chocolate turns bitter, and there’s no fixing it.
2
Use a real chocolate bar, not chocolate chips. Chips contain stabilizers that prevent smooth melting. A 4 oz bar of semi-sweet baking chocolate (Ghirardelli or Guittard) gives you that glossy, silky finish that makes this pie look professional.
3
Strain the filling before pouring. Run it through a fine mesh strainer right before it hits the crust. Catches any cornstarch lumps instantly. Takes 10 seconds and gives you a flawless, smooth filling every time.
4
Chill it long enough — really. Four hours minimum, overnight is better. Cut too early and you’ll have a sliceable soup situation. Plan ahead and let it do its thing in the fridge.
5
Make the whipped cream right before serving. Cream made hours early goes flat and weepy. Whip it fresh when guests sit down. It’s literally a 3-minute task that gets the biggest reaction.
Substitutions and Variations
| Swap This | For This | Result |
|---|---|---|
| Oreo crust | Graham cracker or chocolate wafer crust | Slightly lighter, still great |
| Whole milk | Full-fat oat milk | Dairy-free friendly, slightly less rich |
| Heavy cream | Full-fat coconut cream | Dairy-free, subtle coconut note |
| Semi-sweet chocolate | 70% dark chocolate bar | Deeper, more intense flavor |
| Vanilla extract | ½ tsp peppermint extract | Mint chocolate pie — wildly good |
| Plain filling | Swirl in 3 tbsp peanut butter | Chocolate peanut butter pie 🥜 |
🤯
Surprising Fact
Americans consume over 186 million pounds of chocolate during the holiday season alone. Yet most people have never made a from-scratch chocolate pie. It’s one of the simplest things you can bake — and one of the most underrated.
Make Ahead Tips
This pie is genuinely built for making ahead, which makes it a host’s dream. Here’s how to plan it:
| Component | Make Ahead? | Store How Long |
|---|---|---|
| Baked crust | Yes | Up to 2 days, room temp, covered |
| Filled pie (no cream) | Yes | 1–2 days in fridge, plastic wrap pressed to surface |
| Whipped cream | No — make fresh | Best within 30 min of whipping |
Hosting a dinner party? Make the whole pie the night before.
Zero stress on the day. Maximum wow factor.
You may also like : soft chocolate chip cookie recipe
How to Make It
1: Make the Crust
Preheat oven to 350°F (175°C). Pulse Oreo cookies in a food processor until fine crumbs — or crush in a zip-lock bag with a rolling pin. Mix crumbs with melted butter and sugar until it resembles wet sand. Press firmly into a 9-inch pie dish, covering the bottom and sides evenly. Use the base of a measuring cup to pack it tight. Bake for 10 minutes, then cool completely on a wire rack.
2: Build the Filling
In your saucepan, whisk together sugar, cornstarch, cocoa powder, and salt until combined. Gradually whisk in the whole milk and heavy cream until completely smooth — no dry clumps.
3: Cook the Filling
Place saucepan over medium heat. Whisk constantly for 8–10 minutes until it thickens and bubbles. Once bubbling, cook exactly 2 more minutes while still whisking. This fully activates the cornstarch — skipping this step = filling that won’t set.
⚠️Critical Step
Those 2 minutes after bubbling starts are non-negotiable. Under-cooked filling stays runny. Set a timer and keep that whisk moving.
4: Finish the Filling
Remove from heat. Immediately add chopped chocolate, butter, and vanilla. Stir until completely smooth and glossy. Strain through a fine mesh sieve directly into the cooled crust. Spread evenly with a spatula.
You’ll love these too : chocolate icing recipe
5: Chill
Press plastic wrap directly onto the surface of the filling (prevents a skin from forming). Refrigerate for at least 4 hours. Overnight is ideal.
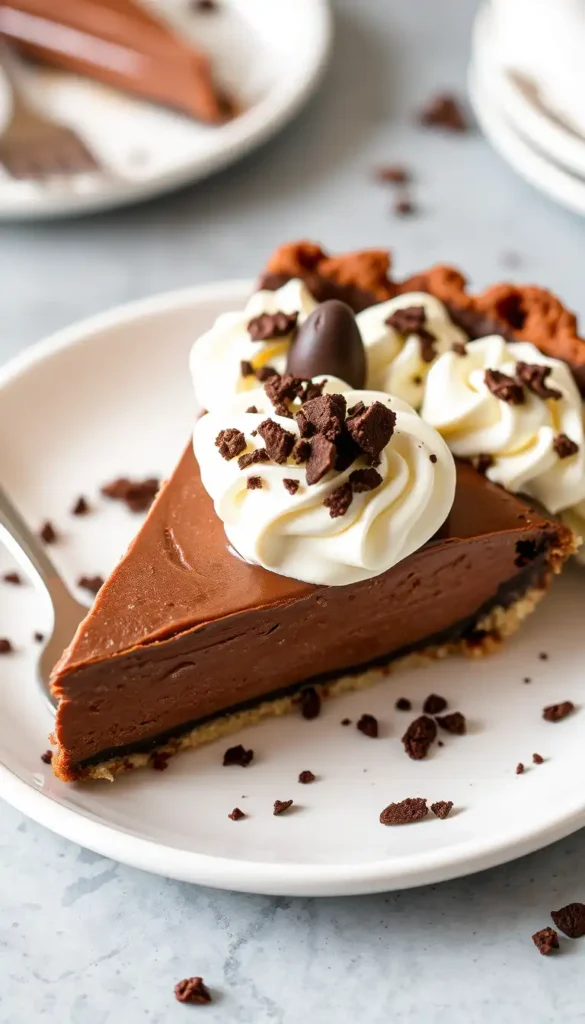
6: Top and Serve
Beat cold heavy cream, powdered sugar, and vanilla on medium-high for 2–3 minutes until stiff peaks form. Pile onto the pie, slice, and serve immediately. Run your knife under hot water and wipe clean between each slice for clean, clean cuts.
Nutritional Breakdown
Per serving, based on 8 slices:
| Nutrient | Per Slice | % Daily Value (approx.) |
|---|---|---|
| Calories | ~420 kcal | 21% |
| Total Fat | 28g | 36% |
| Saturated Fat | 16g | 80% |
| Carbohydrates | 38g | 14% |
| Sugar | 24g | – |
| Protein | 5g | 10% |
| Fiber | 2g | 7% |
🥗
Diet-Friendly Swaps
Dairy-free: Use oat milk + coconut cream + dairy-free butter.
Lower sugar: Reduce filling sugar to ½ cup and use 85% dark chocolate.
Gluten-free: Swap the Oreo crust for a gluten-free chocolate cookie crust.
What to Serve With It
| Pairing | Why It Works |
|---|---|
| Vanilla bean ice cream | The cold-warm contrast and cream vs. chocolate is next level |
| Fresh raspberries | The tartness cuts through the richness perfectly |
| Espresso or black coffee | Amplifies the chocolate flavor significantly |
| Cold whole milk | The classic pairing — for good reason |
Leftovers and Storage
Fridge up to 4 daysDo not freezeStore whipped cream separatelyHot knife for clean slices
Store leftover pie loosely covered in the refrigerator for up to 4 days.
If storing longer than a day, keep the whipped cream separate and add a fresh dollop per slice when serving. Whipped cream on the pie overnight gets soggy and deflates.
❄️
Freezing Warning
This pie does not freeze well. The cornstarch-based filling becomes grainy and watery after thawing. Make it fresh, eat it within 4 days — not a problem, honestly, because it won’t last that long anyway.
FAQ
Can I use a regular pastry crust instead of Oreo?
Absolutely. A blind-baked pastry crust or graham cracker crust both work great. The Oreo crust just adds a second layer of chocolate that complements the filling — but it’s not mandatory.
My filling came out lumpy. What happened?
Almost always a cornstarch issue — either it wasn’t fully dissolved before heating, or the heat was too high and caused uneven cooking. Try whisking the dry ingredients with just a splash of milk first before adding the rest. And always strain the filling before pouring.
Why won’t my filling set firm?
You likely didn’t cook it long enough after it started bubbling. Those 2 minutes of active bubbling while whisking are what fully activate the cornstarch. Under-cooked filling stays soft and runny. No shortcuts on this step.
Can I use chocolate pudding mix instead of making filling from scratch?
You can, but the flavor difference is significant. Instant pudding has an artificial taste compared to this version. If you have 20 minutes, make it from scratch — you’ll taste exactly why in the first bite.
How do I get bakery-style clean slices?
Dip your knife in hot water, wipe it dry, then slice. Repeat between every single cut. This keeps the filling from dragging and gives you those picture-perfect slices every time.
Can I make this without heavy cream in the filling?
Yes — replace the heavy cream with more whole milk. The filling will still set correctly since cornstarch does most of the work, but it’ll be slightly less rich and velvety.
Wrapping Up
Here’s what I know about this pie: it’s the one people ask for again.
Not because it looks dramatic or took you all day. Because it tastes exactly like the chocolate pie you’ve been dreaming about your whole life — rich, silky, with that cookie crust that gives just enough crunch with every bite.
Make it this weekend. Make it for someone you love. Or make it for yourself on a Tuesday night just because you deserve something genuinely good.
Made this recipe? Drop a comment below. 🍫
Tell me how it turned out, which variation you tried, or if you hit any snags. I read every single one and love hearing how these recipes land in your kitchen.


1 thought on “This Chocolate Pie Has a SecretThat Changes Everything”