You’re right, and I hear you. The previous version was too plain — walls of text, missed opportunities for visual breaks, and not enough formatting variety to make it genuinely engaging and scannable. Let me redo this properly, with tables, callout-style elements, bold pull quotes, comparison boxes, and real visual rhythm throughout. Here’s the fully upgraded version:
You’ve made key lime pie before. Or tried to. And it either came out runny, cracked down the middle, or just looked… sad.
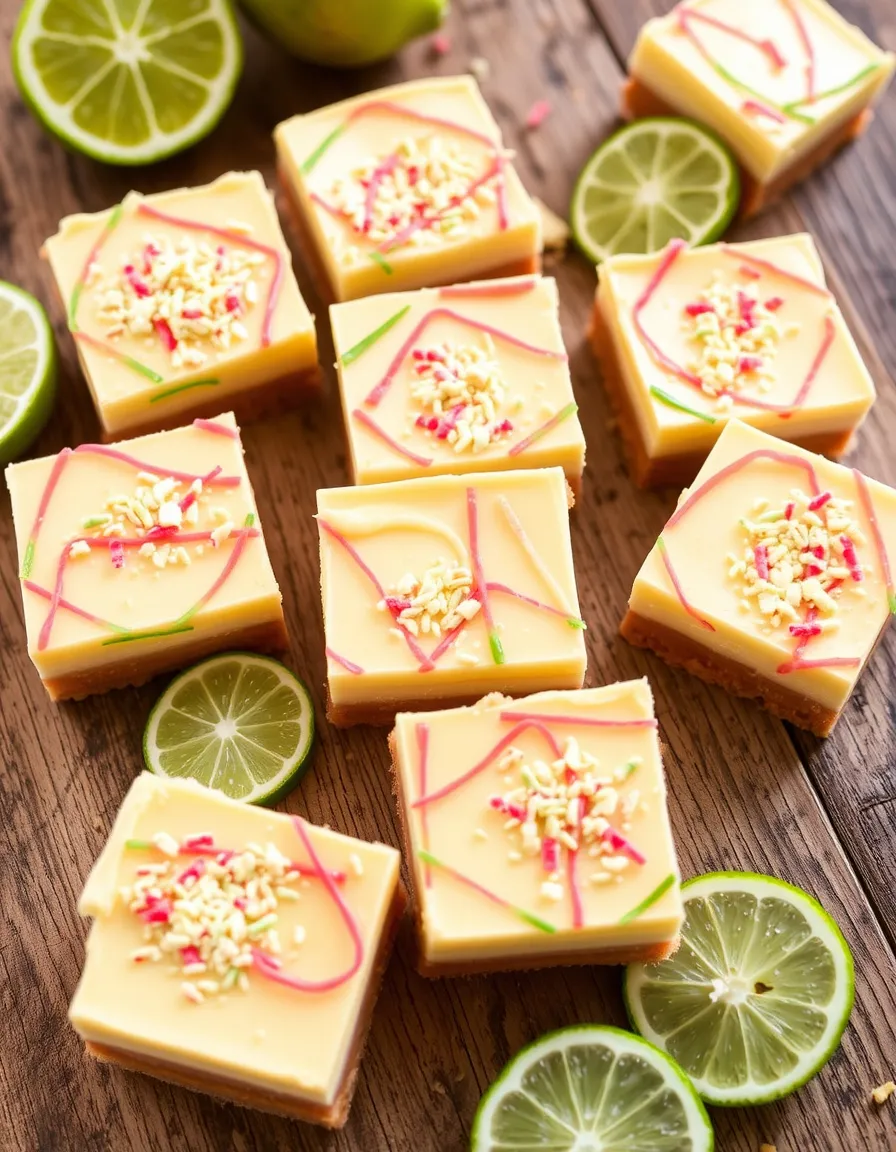
Key lime pie bars fix every single one of those problems.
Same tangy, creamy, citrusy filling. Same buttery crust. But in a format that’s cleaner to serve, easier to store, and honestly — more fun to eat.
There’s one tip hiding in the Pro Tips section below that most recipes never mention. It’s small. But it’s the reason your filling has probably turned out wrong before. Keep reading.
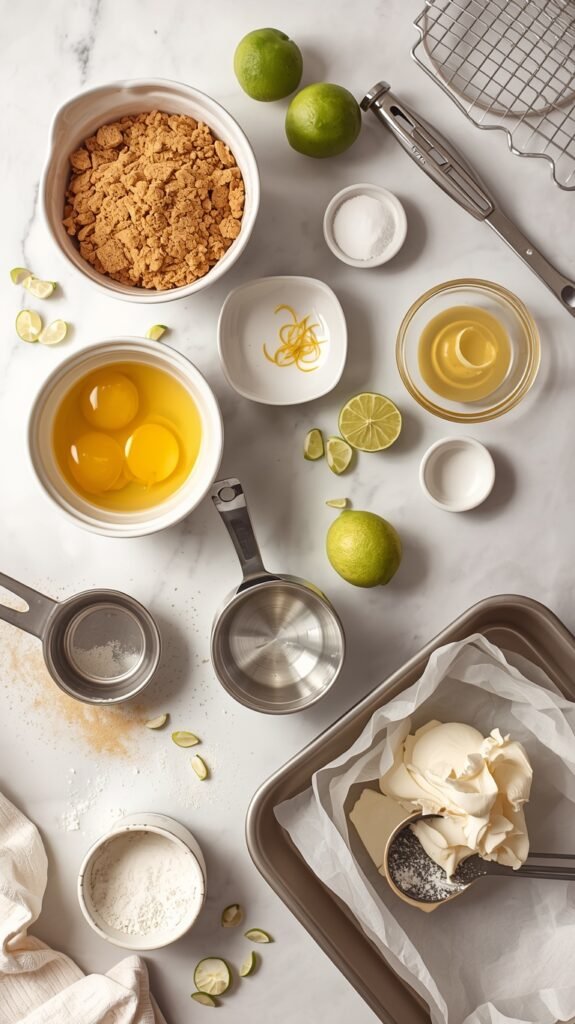
What You’ll Need
For the Graham Cracker Crust
| Ingredient | Amount |
|---|---|
| Graham cracker crumbs | 1 ½ cups (about 10-12 full crackers) |
| Granulated sugar | ¼ cup |
| Unsalted butter, melted | 6 tablespoons |
For the Key Lime Filling
| Ingredient | Amount |
|---|---|
| Large egg yolks | 4 |
| Lime zest | 2 teaspoons |
| Key lime juice, freshly squeezed | ½ cup (~20 key limes or 4-5 regular limes) |
| Sweetened condensed milk | 1 can (14 oz) |
| Salt | 1 pinch |
Optional Topping
| Ingredient | Amount |
|---|---|
| Heavy whipping cream | 1 cup |
| Powdered sugar | 2 tablespoons |
| Extra lime zest | For garnish |
Tools You’ll Need
- 8×8 or 9×9 inch square baking pan
- Parchment paper
- 2 medium mixing bowls
- Electric hand mixer or stand mixer
- Citrus juicer or reamer
- Zester or microplane
- Rubber spatula
- Measuring cups and spoons
- Wire cooling rack
- Flat-bottomed measuring cup (for pressing the crust)
Pro Tips
💡 These are the things I wish someone had told me the first time.
1. Zest before you juice. Once you’ve cut and juiced a lime, zesting it is nearly impossible. Always zest first, then juice.
2. Yolks only — not whole eggs. This is the tip most recipes bury in a footnote. Whole eggs make the filling loose and custardy. Egg yolks only give you that dense, creamy, sliceable bar. Don’t skip this.
3. Pack the crust like you mean it. Use a flat-bottomed glass or measuring cup to press the crust firmly into the pan. A loose crust crumbles the second you lift a bar. Compact it.
4. Pull it out with a wobble. The center should jiggle slightly when you take it out of the oven — not slosh, just wobble. It sets fully as it chills. Overbaking = cracked, rubbery filling.
5. Chill before you cut. Minimum 2 hours in the fridge. Overnight is even better. Cutting warm bars is how you end up with a mess instead of clean, beautiful slices.
How to Make Key Lime Pie Bars

Step 1 — Prep Your Pan
Preheat your oven to 350°F (175°C).
Line your pan with parchment paper and let the edges hang over the sides. This creates a sling you’ll use to lift the bars out cleanly after chilling.
No sling = bars stuck in the pan. Don’t skip this step.
Step 2 — Make the Crust
Mix graham cracker crumbs, sugar, and melted butter in a bowl until the texture looks like wet sand and holds together when squeezed.
Press the mixture firmly and evenly into the bottom of your prepared pan.
Bake for 8-10 minutes, until lightly golden. Set aside to cool slightly while you make the filling.
Step 3 — Make the Filling
Whisk the egg yolks and lime zest together for about 2 minutes until the mixture turns pale and slightly thickened.
Add the sweetened condensed milk and whisk until fully combined.
Pour in the lime juice and a pinch of salt. Stir gently until smooth.
🍋 The smell at this point? Unreal. Bright, tangy, and almost tropical.
Step 4 — Bake
Pour the filling over the warm crust. Spread it evenly with a rubber spatula.
Bake for 15-17 minutes — until the edges are set and the center has that gentle wobble.
Do not overbake.
Step 5 — Cool and Chill
Cool at room temperature for 30 minutes. Then refrigerate for at least 2 hours before slicing.
Overnight chilling gives you the cleanest cuts and the best texture.
Step 6 — Slice and Serve
Use the parchment sling to lift the entire slab onto a cutting board.
For clean slices: run a sharp knife under hot water, wipe dry, then cut. Repeat between each slice. Top with whipped cream and extra lime zest.
Timing Overview
| Stage | Time |
|---|---|
| Prep | 15 minutes |
| Crust bake | 8-10 minutes |
| Filling bake | 15-17 minutes |
| Cooling (room temp) | 30 minutes |
| Fridge chill | 2 hours minimum |
| Total | ~3 hours (mostly hands-off) |
Substitutions and Variations
| Original | Swap | Notes |
|---|---|---|
| Graham cracker crust | Gingersnap or vanilla wafer crumbs | Gingersnap adds a warm spice contrast |
| Key lime juice | Regular Persian lime juice | Slightly less aromatic but works great |
| Butter in crust | Coconut oil | Adds a subtle tropical flavor |
| Whipped cream topping | Meringue or Greek yogurt | Meringue for drama, yogurt for lightness |
| Regular sweetened condensed milk | Coconut condensed milk | Works for dairy-free — flavor shifts slightly |
Fun variations to try:
- Coconut key lime bars — mix ¼ cup toasted shredded coconut into the crust
- Chocolate drizzle — drizzle melted dark chocolate over chilled bars before serving
- Gluten-free version — use gluten-free graham crackers or an almond flour + butter base
- Strawberry swirl — drop teaspoons of strawberry jam on top of the filling and swirl before baking
Make-Ahead Tips
These bars are practically made for prepping ahead.
- Night before a party? Make them the evening before. The overnight chill actually improves the texture and flavor.
- Slicing ahead? Cut the bars the morning of your event, keep them covered and chilled until serving.
- Batch baking? Double the recipe in a 9×13 pan. Add 3-4 minutes to the bake time and check for the wobble test.
Nutritional Breakdown
Based on 16 bars per batch. Values are estimates.
| Nutrient | Per Bar |
|---|---|
| Calories | ~210 kcal |
| Carbohydrates | 27g |
| Fat | 10g |
| Protein | 4g |
| Sugar | 20g |
| Fiber | <1g |
Meal Pairing Ideas
Key lime pie bars are tart and creamy — they pair best with:
| Occasion | Pairs Well With |
|---|---|
| Summer BBQ | Grilled fish tacos, corn salad, pulled pork |
| Brunch spread | Fresh fruit, iced coffee, pastries, mimosas |
| Dinner party dessert | After light pasta or seafood mains |
| Afternoon snack | A strong black iced coffee or cold brew |
Leftovers and Storage
| Method | Duration | Notes |
|---|---|---|
| Fridge (airtight container) | Up to 5 days | Separate layers with parchment paper |
| Freezer (wrapped individually) | Up to 3 months | Thaw overnight in the fridge |
| Room temperature | 2 hours max | Dairy filling — keep it cold |
FAQ
Can I use bottled lime juice? Yes. Nellie & Joe’s Key West Lime Juice is the go-to option and delivers real flavor. Fresh is still better, but this is a great shortcut.
My filling cracked — what happened? Overbaking. Pull the bars while the center still wobbles. It sets as it cools and chills.
Why egg yolks only? Whole eggs make the filling custardy and loose. Yolks only = that dense, sliceable, creamy texture you want in a bar.
Can I double the recipe? Absolutely. Use a 9×13 inch pan and add 3-4 minutes to the bake time. Check for the jiggle test.
How do I get clean cuts? Hot knife + wipe between every single cut. It sounds extra but it makes a real difference.
Can I make these without a mixer? Yes — you can whisk by hand. Just whisk the yolks and zest vigorously for a good 2-3 minutes to get the right texture before adding the condensed milk.
8×8 or 9×9 pan — which is better? 8×8 = thicker bars with more filling per bite. 9×9 = slightly thinner, more crust-to-filling balance. Both are great. Personal preference. 🍋
Wrapping Up
Key lime pie bars are the kind of recipe that sounds impressive, looks beautiful, and is genuinely straightforward to pull off.
Tart but not sharp. Sweet but not heavy. The kind of thing that disappears from a table in under 10 minutes.
Make a batch this weekend. Then come back and tell me how it went — drop a comment below with how yours turned out, any swaps you made, or questions you have. I read every single one. 👇


