Ever notice how most birthday cakes these days taste like they’re trying too hard?
The fancy fondant. The Instagram-worthy decorations. The weird flavor combinations that nobody asked for.
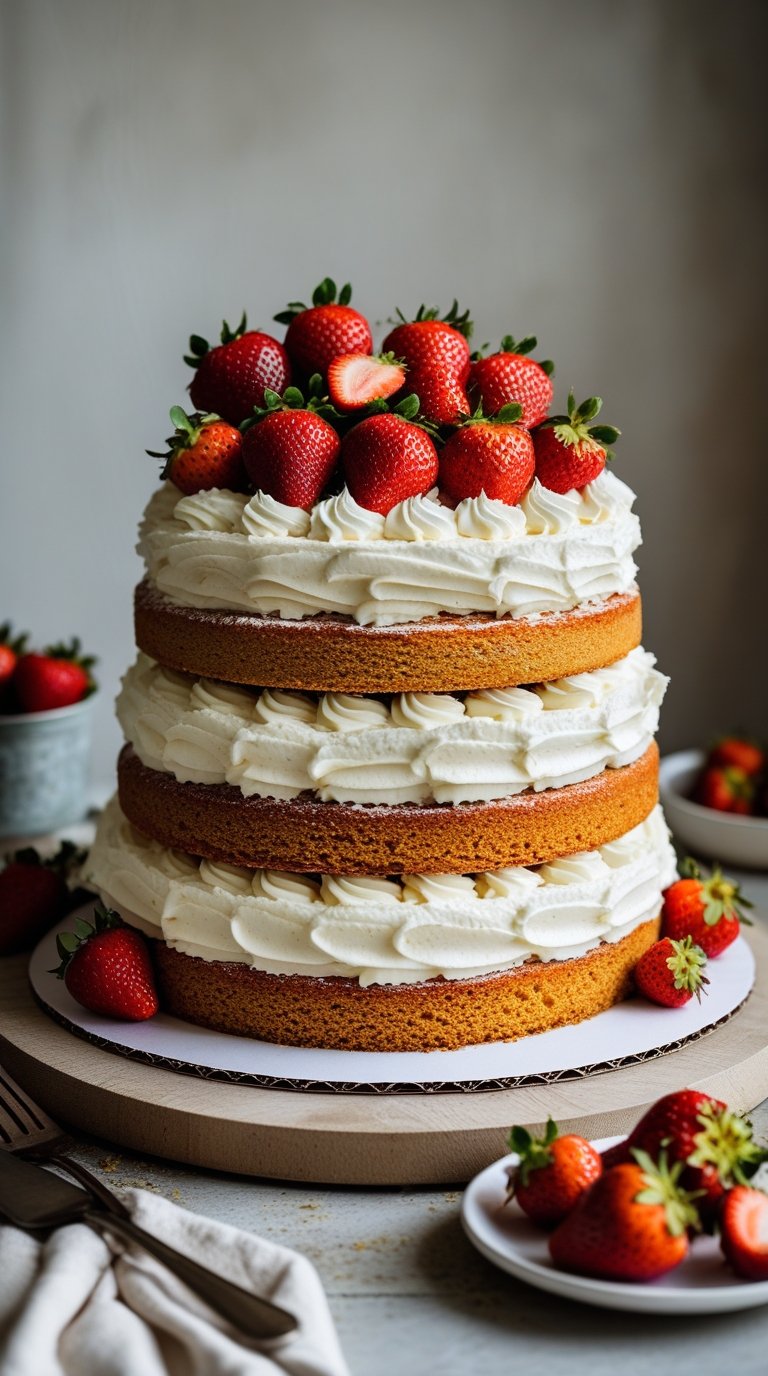
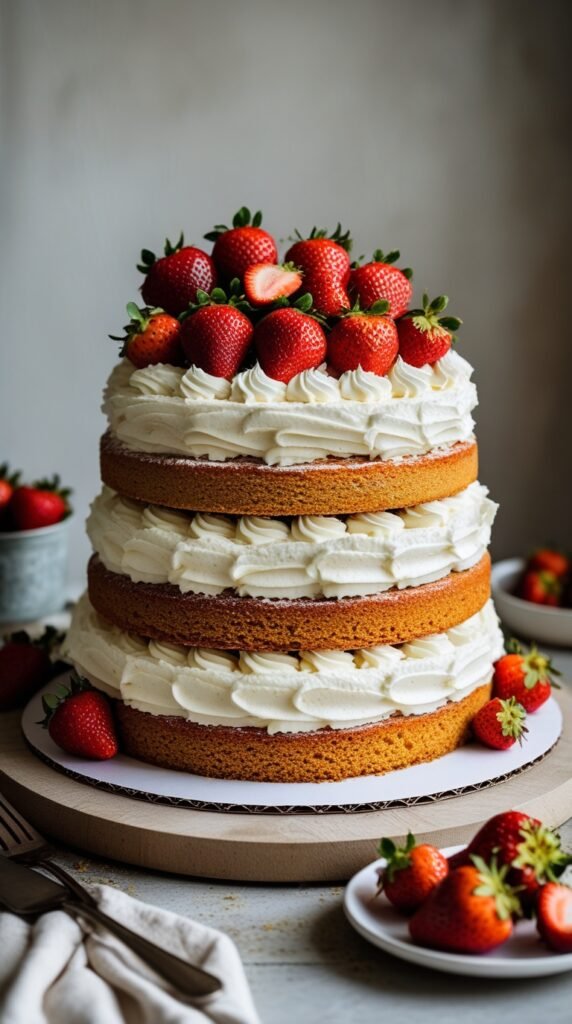
But a truly great birthday cake? It doesn’t need all that. It just needs to taste like the birthday cakes you remember from when you were a kid. The ones your mom made. The ones that were so good you’d sneak back to the kitchen for another slice after everyone went to bed.
This classic birthday cake recipe is exactly that.
Moist vanilla layers, rich buttercream frosting, and sprinkles. Lots of sprinkles.
It’s simple. It’s timeless. And it’s going to make you the hero of every birthday party you bring it to.
What You’ll Need
For the Cake Layers
| Ingredient | Amount | Notes |
|---|---|---|
| All-purpose flour | 3 cups | Spoon and level, don’t pack |
| Granulated sugar | 2 ½ cups | Regular white sugar works best |
| Unsalted butter | 1 cup | Must be softened |
| Large eggs | 5 | Room temp is crucial |
| Whole milk | 1 ½ cups | Not skim or 2% |
| Baking powder | 2 ½ tsp | Check expiration date |
| Salt | 1 tsp | Regular table salt |
| Pure vanilla extract | 2 tbsp | Not imitation |
For the Buttercream Frosting
| Ingredient | Amount | Temperature |
|---|---|---|
| Unsalted butter | 2 cups | Softened |
| Powdered sugar | 8 cups | Sifted if lumpy |
| Heavy cream | ⅓ cup | Room temp |
| Pure vanilla extract | 1 tbsp | The good stuff |
| Salt | ½ tsp | Balances sweetness |
| Rainbow sprinkles | As much as you want 🌈 | Go crazy |
Tools You’ll Need

People also like : eggless chocolate cake recipe
✓ Three 9-inch round cake pans
✓ Electric mixer (stand or hand)
✓ Large mixing bowls (at least 2)
✓ Measuring cups and spoons
✓ Rubber spatula
✓ Wire cooling racks
✓ Offset spatula for frosting
✓ Parchment paper
✓ Toothpick or cake tester
✓ Serrated knife for leveling
Pro Tips
🌡️ Room temperature ingredients are non-negotiable.
Cold eggs and milk will cause your butter to seize up and you’ll end up with a lumpy batter that bakes unevenly. Take everything out of the fridge at least an hour before you start.
Here’s a quick hack: place eggs in a bowl of warm (not hot) water for 5 minutes.
🥄 Don’t overmix the batter.
Once you add the flour, mix just until you can’t see any dry streaks. Overmixing develops the gluten and gives you a tough, dense cake instead of a tender one.
Think of it this way: 10-15 seconds after the last streak of flour disappears, stop mixing.
📏 Level your cakes.
If you want professional-looking layers, you need to cut off those domed tops before stacking. A serrated knife works great, or you can invest in a cake leveler if you make cakes often.
🎨 Crumb coat is your friend.
Before you do the final layer of frosting, spread a thin layer all over the cake and refrigerate for 20-30 minutes. This seals in all the crumbs so your final coat looks smooth and clean.
❄️ Chill the frosting if it’s too soft.
If your buttercream is sliding off the cake, pop it in the fridge for 15 minutes. You want it to be spreadable but not soupy.
You’ll love these too : lemon cake recipe
How to Make This Birthday Cake
Prep Work (Don’t Skip This!)
Preheat your oven to 350°F.
Grease your three cake pans with butter, line the bottoms with parchment paper circles, then grease the parchment. Dust everything with flour and tap out the excess.
Why parchment paper? It guarantees your cakes will release from the pans without sticking. Trust me on this.
Making the Cake Batter
Step 1: Mix the dry ingredients.
In a medium bowl, whisk together the flour, baking powder, and salt. Set it aside.
Step 2: Cream the butter and sugar.
In your mixer bowl, beat the softened butter and sugar together on medium-high speed for 4-5 minutes.
It should look light and fluffy, almost like whipped cream. This step is where air gets incorporated into your cake.
Step 3: Add the eggs.
Add the eggs one at a time, beating well after each addition.
The mixture might look curdled after the first couple eggs, but keep going. It’ll come together.
Step 4: Add the vanilla.
Pour in the vanilla extract and mix until combined.
Step 5: Alternate the dry ingredients and milk.
Here’s where people mess up. You need to alternate, not dump everything in at once.
The pattern:
- Add ⅓ of flour mixture → mix on low
- Add ½ of milk → mix on low
- Add ⅓ of flour mixture → mix on low
- Add remaining ½ of milk → mix on low
- Add final ⅓ of flour mixture → mix just until combined
Stop as soon as you can’t see dry streaks.
Step 6: Divide the batter.
Use a kitchen scale if you have one (about 650g per pan), but eyeballing it works too.
Pour the batter evenly into your three prepared pans. Tap each pan on the counter a few times to release air bubbles.
Baking and Cooling
Step 7: Bake.
Bake for 25-30 minutes.
How to tell they’re done:
- Toothpick inserted in center comes out clean
- Tops spring back when touched lightly
- Edges pull away slightly from pan sides
- Internal temperature is 210°F
Step 8: Cool completely.
Let the cakes cool in the pans for 10 minutes, then turn them out onto wire racks.
Let them cool completely before you even think about frosting. If they’re even a little warm, your frosting will melt and you’ll want to cry.
Making the Buttercream
Step 9: Beat the butter.
Beat the softened butter on medium speed for 3-4 minutes until it’s pale and fluffy.
Step 10: Add the sugar gradually.
Add the powdered sugar one cup at a time, beating on low after each addition.
Start slow or you’ll have a sugar cloud in your kitchen.
Step 11: Add the liquids.
Add the vanilla, salt, and heavy cream.
Beat on high for 4-5 minutes until light and fluffy. The frosting should hold stiff peaks.
Assembly Time
Step 12: Level the cakes.
Use a serrated knife to cut off any domed tops so your layers are flat.
Save the scraps for snacking. Baker’s privilege.
Step 13: First layer.
Place one layer on your cake stand or serving plate. Spread about 1 cup of frosting on top, going almost to the edge.
Step 14: Second layer.
Place the second layer on top. Add another cup of frosting.
Step 15: Third layer.
Top with the third layer, placing it cut-side down for a flat top.
Step 16: Crumb coat.
Apply a thin layer of frosting all over the cake. This doesn’t need to look pretty.
Refrigerate for 20-30 minutes until firm.
Step 17: Final frost.
Spread the remaining frosting all over the cake.
You can make it smooth with an offset spatula or leave it textured. Up to you.
Recommended for you : Red velvet cake recipe
Step 18: Sprinkles! 🎉
Cover that cake in sprinkles. Press them gently into the sides. Go wild.
There’s no such thing as too many sprinkles.
Substitutions and Variations
Common Swaps
| Instead of… | Use this… | What changes |
|---|---|---|
| Whole milk | Buttermilk | More tender crumb |
| Vanilla cake | Chocolate | Replace 1 cup flour with cocoa, add ½ cup more milk |
| Buttercream | Cream cheese frosting | Tangier, less sweet |
| 3 layers | 2 layers | Divide batter in 2 pans, bake 30-35 min |
| Round pans | 9×13 sheet | Bake 35-40 minutes |
Flavor Variations
Funfetti Birthday Cake
Fold in ¾ cup of rainbow sprinkles at the end of mixing. They’ll bleed a little during baking, but it’s part of the charm.
Strawberry Birthday Cake
Add 2 tablespoons of strawberry extract to the batter and use strawberry frosting.
Lemon Birthday Cake
Replace vanilla with lemon extract and add 2 tablespoons of lemon zest to the batter.
Chocolate Lover’s Version
Use the chocolate swap from the table above and add chocolate chips to the frosting.
Make Ahead Tips
Planning ahead? Here’s your timeline:
| When | What to Do | How Long It Keeps |
|---|---|---|
| 3 months ahead | Bake and freeze cake layers | Up to 3 months |
| 1 week ahead | Make frosting, refrigerate | Up to 1 week |
| 2 days ahead | Frost entire cake | Up to 2 days at room temp |
| Day of | Add sprinkles and serve | Best fresh |
Freezing cake layers: Wrap tightly in plastic wrap, then in aluminum foil. Thaw at room temperature before frosting.
Frosting ahead: Store in an airtight container in the fridge. Let it come to room temperature and give it a good whip before using.
Nutritional Breakdown
Per slice (cake serves 12)
| Nutrient | Amount | % Daily Value |
|---|---|---|
| Calories | 720 | 36% |
| Total Fat | 32g | 41% |
| Saturated Fat | 20g | 100% |
| Carbohydrates | 105g | 35% |
| Sugar | 85g | – |
| Protein | 6g | 12% |
| Sodium | 320mg | 14% |
Yes, it’s indulgent. It’s birthday cake. You’re supposed to enjoy it.
Dietary Modifications
Dairy-Free Option
Substitute butter with vegan butter (Earth Balance works great) and use oat milk or almond milk. The texture will be slightly different but still good.
Egg-Free Version
Replace each egg with a “flax egg” (1 tablespoon ground flaxseed + 3 tablespoons water, let sit 5 minutes). The cake will be slightly denser.
Gluten-Free
Use a 1:1 gluten-free baking flour. King Arthur Measure for Measure works well. Don’t use almond flour.
Leftovers and Storage
Room Temperature: Store covered for up to 3 days.
The frosting acts as a seal, so the cake stays moist as long as the cut sides are covered with frosting.
Refrigerator: Up to 1 week.
If you’ve cut into it, press a piece of plastic wrap directly against the cut side before covering the whole thing.
Freezer: Wrap individual slices in plastic wrap for up to 3 months.
Let them thaw at room temperature for about an hour.
Pro tip: Freeze a slice from every birthday cake you make. In a year, you’ll have a fun collection to sample.
Meal Pairing Suggestions
This cake is sweet enough to stand on its own, but here’s what goes well with it:
Beverages
- Hot coffee (balances the sweetness)
- Cold whole milk (classic combo)
- Champagne or prosecco (fancy celebrations)
- Vanilla cream soda (kid-friendly option)
Accompaniments
- Vanilla ice cream
- Fresh strawberries or raspberries
- Whipped cream (if your frosting is on the lighter side)
Party Planning
If you’re serving this at a party, pair it with lighter savory foods earlier in the meal so people have room for cake.
Think sandwiches, salads, or pizza.
Troubleshooting Guide
| Problem | Why It Happened | How to Fix It |
|---|---|---|
| Dense, heavy cake | Overmixed batter or expired baking powder | Mix less, check ingredient dates |
| Cake stuck in pan | Didn’t grease/flour properly | Always use parchment paper |
| Domed tops | Oven too hot | Use oven thermometer, lower temp 25°F |
| Dry cake | Overbaked | Check at 25 minutes, not 30 |
| Frosting too runny | Butter too warm or too much liquid | Chill 15 min, add more powdered sugar |
| Frosting too stiff | Too much sugar or butter too cold | Add 1-2 tbsp cream |
| Cake sliding apart | Frosted while warm | Always cool completely |
Time Breakdown
Want to know how long this actually takes?
Active time: 45 minutes
Baking time: 30 minutes
Cooling time: 1 hour
Frosting and assembly: 30 minutes
Total time: About 2 hours 45 minutes
But here’s the thing: most of that is hands-off cooling time. You can do other stuff.
FAQ
Can I use cake flour instead of all-purpose?
Yes, but reduce the amount to 2 ¾ cups. Cake flour is lighter and more delicate, so you need less of it.
Why is my cake dense?
Usually one of three reasons: overmixed batter, ingredients that weren’t at room temperature, or old baking powder. Cold ingredients don’t cream properly and won’t give you that fluffy texture.
Can I make this as cupcakes?
Absolutely! This recipe makes about 36 cupcakes. Line your muffin tins and fill each cup about ⅔ full. Bake at 350°F for 18-20 minutes.
Do I have to use three layers?
Nope. You can make two thicker layers or even one 9×13 sheet cake. Just adjust your baking time. Two layers need 30-35 minutes, a sheet cake needs 35-40 minutes.
My frosting is too sweet. Help?
Add a pinch more salt (up to 1 teaspoon total) or a teaspoon of lemon juice to cut the sweetness. The acid balances out the sugar.
Can I color the cake layers?
Sure. Gel food coloring works best because it won’t add extra liquid to your batter. Add it after you mix the batter and fold it in gently with a spatula.
How do I get smooth frosting like bakeries?
Two tricks: Use an offset spatula and dip it in hot water, then dry it off before smoothing. The warmth helps the frosting glide. Also, a bench scraper held against the side while you spin the cake stand creates perfectly smooth sides.
Can I make this ahead for a party?
Yes! Bake the layers up to 3 days ahead and store wrapped at room temperature. Or freeze them for up to 3 months. Frost the day before and keep at room temperature, or frost the day of.
What if I don’t have three cake pans?
Bake in batches. Cover the remaining batter and keep it at room temperature while the first pan bakes. Or use two pans and make a two-layer cake.
Why did my layers bake unevenly?
Your oven probably has hot spots. Rotate the pans halfway through baking. Also, make sure your oven rack is in the center position.
Wrapping Up
This birthday cake is proof that simple really is better sometimes.
You don’t need fancy techniques or expensive ingredients.
Just good butter, real vanilla, and a little patience while everything comes to room temperature.
Make this for your next birthday celebration and watch everyone go back for seconds. Then thirds.
And when you do make it, come back and leave a comment. I want to know how it turned out, if you added your own twist, and what birthday you made it for.
Did your kid request extra sprinkles? Did you make it for yourself just because? Did someone cry happy tears?
Tell me everything.


1 thought on “Classic Birthday Cake That Actually Tastes Like Childhood”