You know that restaurant chicken parm that costs $18 and somehow always disappoints?
This homemade version is about to ruin takeout for you forever.
Crispy, cheesy, and ridiculously simple to pull off, even on a Tuesday night when you’re running on fumes.
Let me tell you something: I used to think making chicken parmesan at home was too much work. All that breading, the frying, the timing… it felt like the kind of recipe I’d save for when I had three hours and the energy to match.
Turns out, I was completely wrong.
This recipe takes about 45 minutes from start to finish, most of which is just oven time. No complicated techniques, no fancy equipment, no culinary degree required.
And here’s the kicker: it tastes way better than anything you’d get from a restaurant.
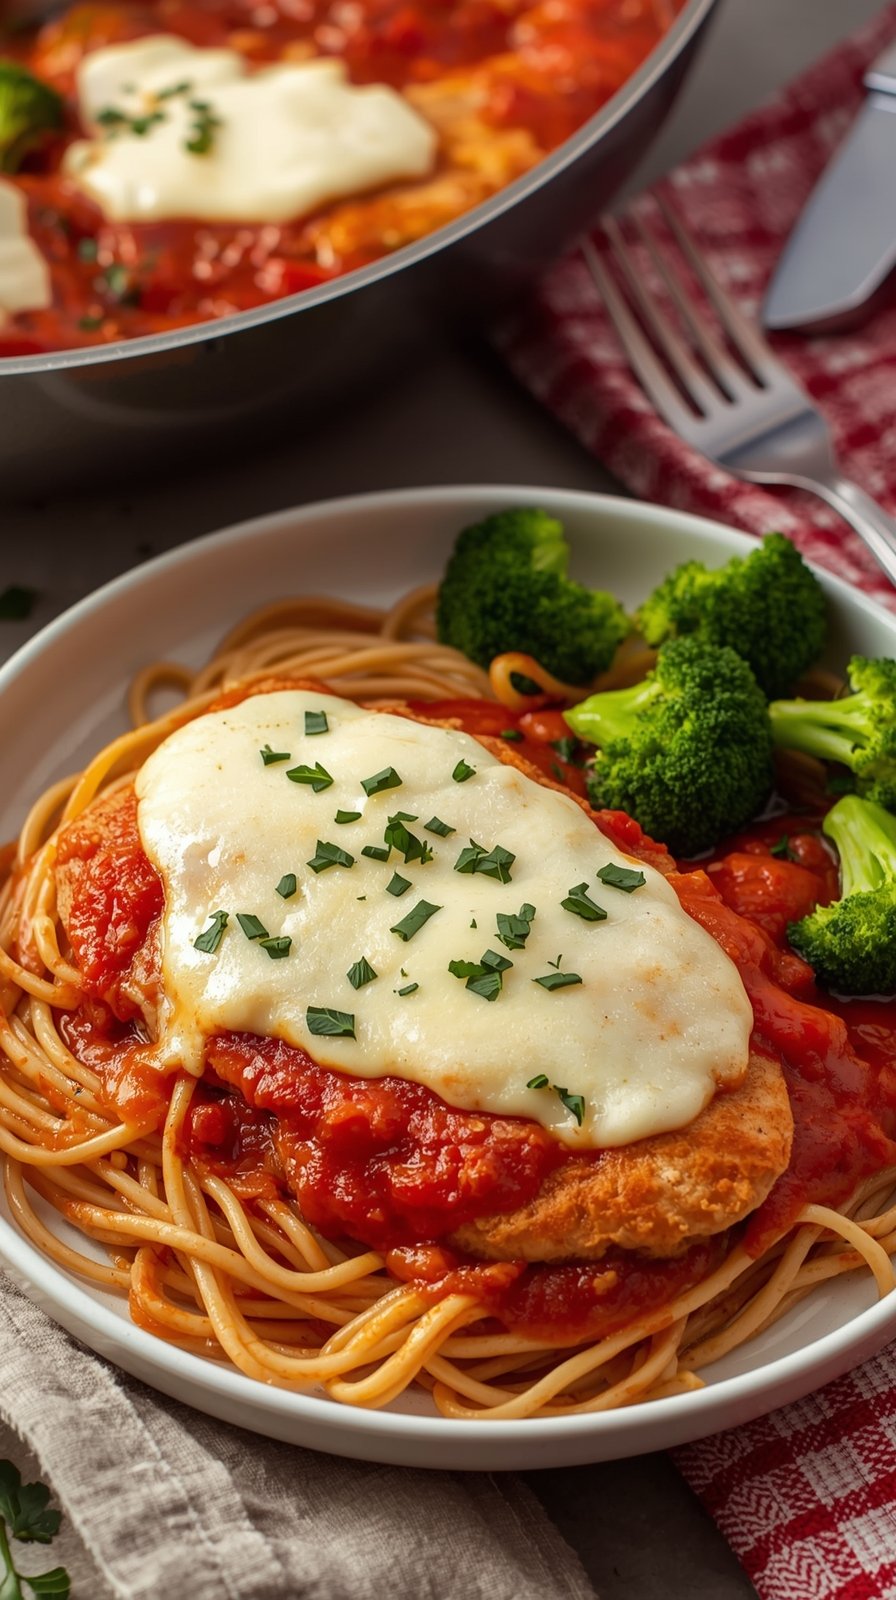
The chicken stays juicy, the coating gets perfectly crispy, and the cheese? Let’s just say you’ll want to scrape every last bit off the pan.
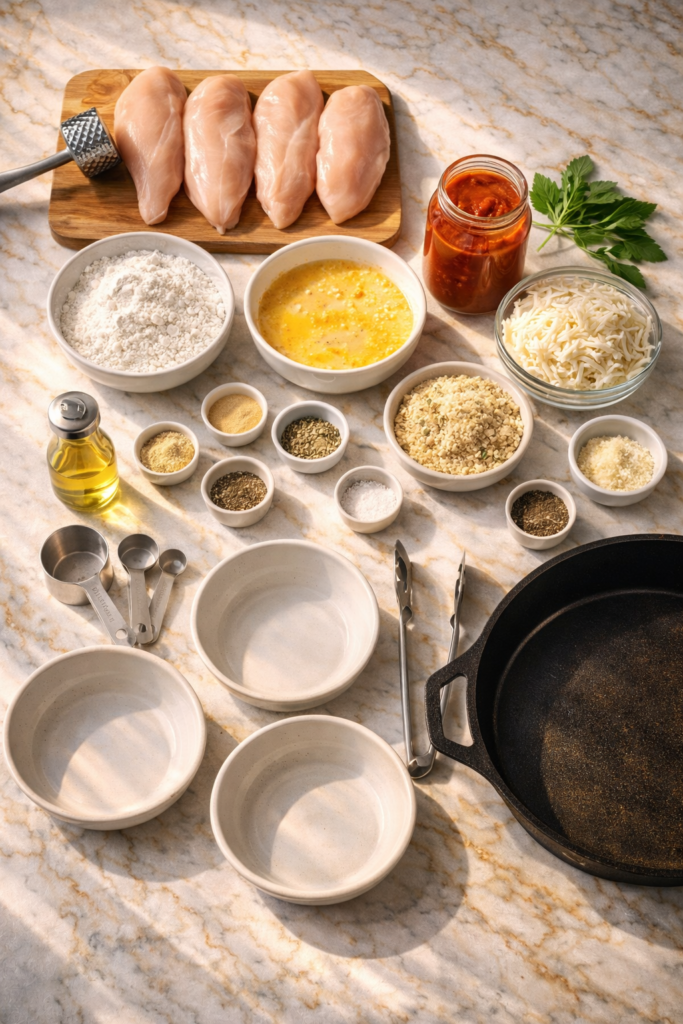
What You’ll Need
For the Chicken
| Ingredient | Amount | Notes |
|---|---|---|
| Boneless, skinless chicken breasts | 4 (about 1.5-2 lbs) | Pound to 1/2 inch thickness |
| All-purpose flour | 1 cup | For first coating |
| Large eggs | 2 | Whisked with milk |
| Milk | 2 tablespoons | Makes eggs easier to coat |
| Italian breadcrumbs | 1.5 cups | Or make your own |
| Grated Parmesan cheese | 1/2 cup | Plus more for topping |
| Garlic powder | 1 teaspoon | Fresh garlic burns too fast |
| Dried oregano | 1 teaspoon | Italian herb essential |
| Dried basil | 1 teaspoon | Adds that Italian flavor |
| Salt | 1/2 teaspoon | For seasoning |
| Black pepper | 1/4 teaspoon | Freshly ground is best |
| Vegetable oil | 1/4 cup | For frying |
For the Topping
| Ingredient | Amount | Pro Tip |
|---|---|---|
| Marinara sauce | 2 cups | Rao’s or homemade |
| Shredded mozzarella | 1.5 cups | Fresh melts better |
| Grated Parmesan | 1/4 cup | For that golden top |
| Fresh basil | Handful | For garnish |
Essential Tools
Recommended for you : jerk chicken recipe
🔪 Meat mallet or rolling pin
🍽️ 3 shallow bowls or plates
🍳 Large oven-safe skillet or 9×13 baking dish
🥄 Tongs
📏 Measuring cups and spoons
📋 Cutting board
Pro Tips From Someone Who’s Made This 100+ Times
1. Pound It Out (Seriously, Don’t Skip This)
Here’s the truth: chicken breasts are naturally thick and uneven.
That means they cook unevenly, which means dry edges and raw centers. Not cute.
Grab a meat mallet (or just use a rolling pin) and pound those breasts until they’re about 1/2 inch thick all the way through.
Takes 30 seconds per breast. Changes everything.
2. The Double Dredge Secret
Want that restaurant-level crispy coating that makes people ask for your recipe?
After you bread the chicken once, dip it back in the egg mixture and then the breadcrumbs again.
Yeah, it’s an extra step. But the texture difference? Absolutely worth it.
You’ll get this thick, crunchy crust that stays crispy even under all that sauce and cheese.
3. Hot Oil = Crispy Coating
If your oil isn’t hot enough, the breading will absorb it and get soggy instead of crispy.
Test it by dropping a pinch of breadcrumbs in. If they sizzle immediately, you’re good to go.
If they just sit there? Wait another minute.
4. Buy Good Marinara (Or Make It)
This isn’t the place to grab the cheapest jar on the shelf.
A quality marinara makes a massive difference in the final taste. Look for brands like Rao’s, Victoria, or Classico with simple ingredients: tomatoes, garlic, olive oil, herbs.
Or make your own if you’ve got 20 minutes. It’s not hard and tastes incredible.
5. The 5-Minute Rest Is Non-Negotiable
I know it’s hard to wait when it smells that good.
But resting helps the cheese set up a bit and keeps all the juices inside the chicken instead of all over your cutting board.
Five minutes. You can do it.
Quick Reference: Timing Breakdown
| Step | Time | What’s Happening |
|---|---|---|
| Prep chicken | 5 min | Pounding, seasoning |
| Breading station setup | 3 min | Getting organized |
| Breading chicken | 5 min | Coating each piece |
| Frying | 8 min | Getting that crispy exterior |
| Oven time | 15-20 min | Melting cheese, finishing chicken |
| Rest | 5 min | Letting it set |
| Total | 45 min | Start to finish |
Substitutions and Variations
Protein Swaps
Not a chicken person? Try these instead:
Pork cutlets – Same exact method, maybe 1-2 minutes less frying time
Turkey cutlets – Lean and healthy, works perfectly
Eggplant slices – Cut 1/2 inch thick for vegetarian version
Veal cutlets – Traditional Italian style, more expensive
Dietary Modifications
| Need | Solution |
|---|---|
| Gluten-free | Use GF breadcrumbs + GF flour blend |
| Dairy-free | Swap cheese for dairy-free mozzarella |
| Low-carb | Use crushed pork rinds instead of breadcrumbs |
| Keto | Almond flour + pork rind breading |
Cheese Creativity
While mozzarella and Parmesan are traditional, mix it up:
- Provolone – Sharper, tangier flavor
- Fontina – Creamy and mild
- Smoked mozzarella – Adds depth
- Mix of all three – Because why not? 🧀
Breadcrumb Options
Panko → Extra crunchy (add Italian seasoning)
Homemade → Pulse stale bread in food processor
Seasoned → Already has herbs mixed in
Gluten-free → Same texture, different base
Make Ahead Magic
Option 1: Bread in Advance
Bread the chicken up to 24 hours ahead. Place breaded cutlets on a parchment-lined baking sheet, cover with plastic wrap, refrigerate. Cook straight from the fridge when ready.
Option 2: Full Assembly
Fry the chicken, assemble with sauce and cheese, then refrigerate up to 8 hours before baking. Add 5-10 minutes to bake time if going in cold.
Option 3: Freeze It
Wrap individual breaded (uncooked) cutlets in plastic wrap, freeze up to 3 months. Fry from frozen, adding 2-3 minutes per side.
You may also like : chicken fajita recipe
How to Make It

Step 1: Prep the Chicken
Place each chicken breast between two pieces of plastic wrap or parchment paper.
Use a meat mallet or rolling pin to pound them to an even 1/2-inch thickness.
Season both sides with salt and pepper.
Pro move: Pound from the center outward to get the most even thickness.
Step 2: Set Up Your Breading Station
Grab three shallow bowls.
Bowl 1: All-purpose flour
Bowl 2: Eggs + milk, whisked together
Bowl 3: Breadcrumbs + Parmesan + all the seasonings mixed
Line them up in order. This is your assembly line.
Step 3: Bread the Chicken
Take one chicken breast:
- Coat completely in flour, shake off excess
- Dip into egg mixture, let excess drip off
- Press into breadcrumb mixture, coating both sides well
- Set aside on a clean plate
Repeat with remaining chicken.
Double dredge tip: For extra crispy coating, repeat steps 2 and 3 one more time.
Step 4: Fry the Chicken
Heat vegetable oil in a large oven-safe skillet over medium-high heat.
Test with a breadcrumb pinch. It should sizzle immediately.
Add chicken breasts (don’t overcrowd). Cook 3-4 minutes per side until golden brown and crispy.
The chicken doesn’t need to be fully cooked through yet since it’ll finish in the oven.
Transfer to a paper towel-lined plate.
Step 5: Preheat the Oven
Set it to 375°F while you’re frying the chicken.
Step 6: Assemble the Dish
If your skillet is oven-safe, wipe out excess oil and arrange chicken in the pan.
If not, transfer chicken to a 9×13-inch baking dish.
Spoon marinara sauce over each piece of chicken.
Top with mozzarella and Parmesan cheese.
You’ll love these too : chicken salad recipe with grapes
Step 7: Bake
Place in the oven and bake 15-20 minutes, until cheese is melted, bubbly, and starting to turn golden.
Chicken should reach an internal temperature of 165°F.
Step 8: Garnish and Serve
Remove from oven and let rest 5 minutes.
Garnish with fresh basil leaves.
Serve with pasta, crusty bread, or a simple green salad.
Nutritional Information (Per Serving)
| Nutrient | Amount |
|---|---|
| Calories | 520 |
| Protein | 48g |
| Carbohydrates | 32g |
| Fat | 22g |
| Fiber | 2g |
| Sodium | 890mg |
Based on 4 servings. Your values may vary based on specific ingredients used.
Perfect Pairings
Classic Italian Sides
🍝 Spaghetti – Tossed in olive oil and garlic
🥖 Garlic bread – For soaking up extra sauce
🥗 Caesar salad – Crisp and tangy contrast
🍷 Chianti – Red wine pairing perfection
Lighter Options
Arugula salad with lemon vinaigrette
Roasted vegetables – Zucchini, peppers, asparagus
Caprese salad – Tomatoes, basil, mozzarella
Sautéed spinach with garlic
Carb Loading
Fettuccine Alfredo – Go all in
Penne alla vodka – Creamy and indulgent
Risotto – Mushroom or parmesan
Polenta – Creamy or grilled
Leftovers and Storage
Refrigerator Storage
Store in an airtight container for up to 4 days.
Reheating Methods
| Method | Temperature | Time | Result |
|---|---|---|---|
| Oven (best) | 350°F | 15 min | Crispy coating |
| Air fryer | 350°F | 8 min | Super crispy |
| Microwave | High | 2 min | Soggy but fast |
| Skillet | Medium | 5 min | Pretty good |
Best method: Oven, covered with foil for 10 minutes, then uncovered for 5 minutes.
Freezer Storage
Wrap each piece individually in plastic wrap, then place in a freezer-safe container.
Keeps for up to 3 months.
To reheat from frozen: Bake at 350°F for 30-35 minutes, covered with foil for the first 20 minutes.
Leftover Recipe Ideas
🥪 Chicken Parm Sandwich – Between garlic bread slices
🍕 Chopped on pizza – With extra cheese
🥗 Salad topper – Slice and add to Caesar salad
🌯 Wrap filling – With arugula and mayo
FAQ
Can I use chicken thighs instead of breasts?
Yep. Boneless, skinless chicken thighs work great.
They’re actually more forgiving because they stay juicier. Just pound them to an even thickness and follow the same steps.
What if I don’t have an oven-safe skillet?
No problem. Fry the chicken in a regular skillet, then transfer everything to a baking dish for the oven part.
One extra dish to wash, but the recipe works exactly the same.
Can I make this in an air fryer?
You can. Bread the chicken as directed, then air fry at 375°F for about 10 minutes per side.
Once it’s crispy, top with sauce and cheese and air fry for another 3-5 minutes until the cheese melts.
What’s the best store-bought marinara sauce?
Top picks:
- Rao’s Homemade (premium but worth it)
- Victoria Marinara (great quality)
- Classico Traditional (budget-friendly)
- Newman’s Own (simple ingredients)
Look for sauces with short ingredient lists: tomatoes, garlic, olive oil, herbs.
Why is my breading falling off?
Usually happens because the chicken was too wet when you started breading.
Solutions:
- Pat chicken completely dry with paper towels first
- Let breaded chicken sit 5-10 minutes before frying
- Make sure oil is hot enough before adding chicken
- Don’t move the chicken around too much while frying
Can I prep this ahead for a dinner party?
Absolutely. Two options:
Option 1: Bread the chicken a day ahead, keep in fridge
Option 2: Fully assemble after frying, refrigerate up to 8 hours, then bake before serving
Add a few extra minutes to bake time if going in cold.
How do I know when the chicken is done?
Use a meat thermometer. Internal temperature should reach 165°F.
Visual cues: Juices run clear, no pink in the center, cheese is bubbly and golden.
Can I bake instead of frying?
Yes. Place breaded chicken on a baking sheet, spray with cooking spray, and bake at 400°F for 20 minutes, flipping halfway.
Won’t be quite as crispy as frying, but still really good and uses way less oil.
Common Mistakes to Avoid
❌ Not pounding the chicken → Uneven cooking
❌ Oil not hot enough → Soggy breading
❌ Overcrowding the pan → Steamed instead of fried
❌ Skipping the rest time → Dry chicken
❌ Using cheap marinara → Bland final dish
❌ Cutting into it immediately → Juices everywhere
Why This Recipe Works
The science behind the perfect chicken parm:
1. Pounding creates even cooking
Uniform thickness means every part cooks at the same rate. No more overcooked edges or undercooked centers.
2. Three-step breading creates layers
Flour helps egg stick, egg helps breadcrumbs stick, breadcrumbs create crispy coating. Each layer has a purpose.
3. Frying then baking is genius
Frying creates the crispy exterior. Baking finishes cooking without burning the coating and melts the cheese perfectly.
4. Resting redistributes moisture
Proteins relax, juices redistribute throughout the meat instead of pooling on your cutting board.
Wrapping Up
There’s something really satisfying about making a dish at home that you usually only order at restaurants.
And chicken parmesan is one of those recipes that feels fancy but is actually super doable, even on a weeknight.
Once you make this a few times, you’ll have it down to a system. The breading will go faster, the timing will feel natural, and you’ll start tweaking it to make it your own.
And trust me, once you realize how easy it is, you’ll be making it way more often than you ever ordered it. Your wallet will thank you, and your taste buds will be way happier.
So grab those ingredients, crank up some music, and get cooking.
And when you’re done, come back and drop a comment about how it turned out. Did you add your own twist? Did your family lose their minds over it? Did you burn something? (It happens, no judgment.)
I want to hear all about it. 💬


1 thought on “Easy Chicken Parmesan That’ll Make You Ditch the Takeout Menu”