You know that warm, buttery smell that hits you when you walk into a bakery? The one that makes you buy three pastries you didn’t plan on getting?
You can make that happen in your own kitchen.
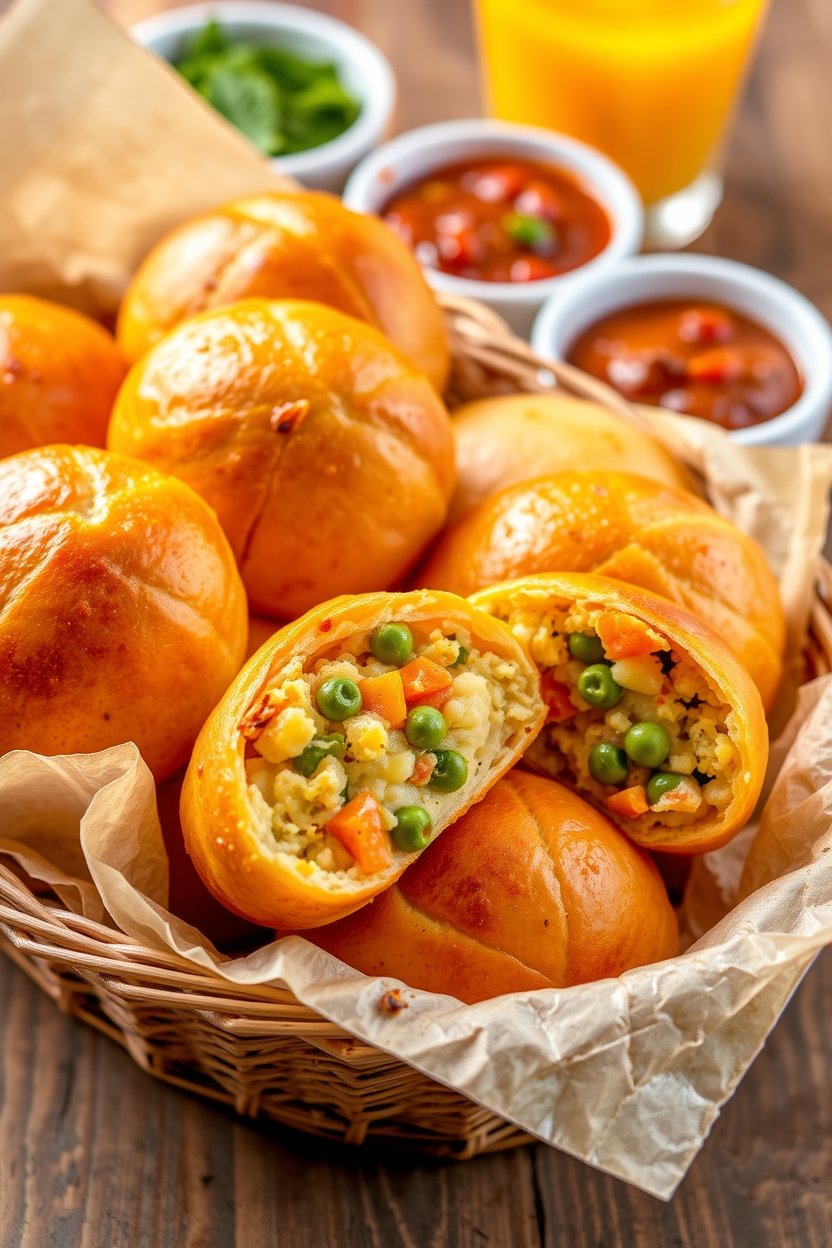
I’m talking about bread rolls that are golden on the outside, pillowy soft on the inside, and good enough to make you forget about that fancy bakery down the street. They’re so easy to make that you’ll wonder why you haven’t been doing this all along.
And here’s the thing: homemade bread rolls aren’t just about saving money (though you will). They’re about pulling something out of your oven that makes your whole house smell incredible and makes dinner feel just a little more special.
So let’s get into it.
What You’ll Need
For the Dough
| Ingredient | Amount | Notes |
|---|---|---|
| All-purpose flour | 4 cups | Plus extra for dusting |
| Active dry yeast | 2¼ teaspoons | One standard packet |
| Granulated sugar | ¼ cup | Feeds the yeast |
| Salt | 1½ teaspoons | Don’t skip this |
| Whole milk | 1 cup | Warmed to 110°F |
| Unsalted butter | ¼ cup | Melted and slightly cooled |
| Large eggs | 2 | Room temperature |
| Warm water | ¼ cup | 110°F |
For Topping
- 2 tablespoons unsalted butter (melted, for brushing)
- Flaky sea salt (optional, but really good)
Tools You’ll Need

Here’s everything you need to have ready before you start:
- Large mixing bowl
- Kitchen thermometer (game changer for yeast)
- Stand mixer with dough hook OR strong arms 💪
- Clean kitchen towel
- Baking sheet
- Parchment paper
- Pastry brush
- Wire cooling rack
Pro Tips
Temperature is Everything
Your liquid needs to be between 105-115°F. Too hot and you’ll kill the yeast. Too cold and it won’t activate. If you don’t have a thermometer, the liquid should feel like a warm bath on your wrist.
Room Temperature = Success
Don’t skip the room temperature eggs. Cold eggs can cool down your dough and mess with the rising process. Just set them out 30 minutes before you start, or put them in a bowl of warm water for 5 minutes.
Sticky is Good
The dough should be slightly sticky. If it’s too dry, your rolls will be dense. If it pulls away from the bowl completely and feels smooth, you’re good. If it’s a wet mess, add flour one tablespoon at a time.
Patience Pays Off
Bread is not something you can rush. The first rise should double the dough in size (usually 60-90 minutes). If your kitchen is cold, turn your oven to the lowest setting for one minute, turn it off, and let the dough rise in there.
The Double Butter Trick
Brush with butter twice. Once right when they come out of the oven, and again 5 minutes later. This creates that shiny, golden crust that makes them look professional.
How to Make the Bread Rolls

Step 1: Proof the Yeast
Pour the warm water into a small bowl and sprinkle the yeast and a pinch of the sugar over it.
Give it a gentle stir and let it sit for about 5-10 minutes.
What you’re looking for: It should get foamy on top, kind of like the head on a beer. If nothing happens, your yeast is dead and you need to start over with fresh yeast.
Step 2: Mix the Dough
In your large mixing bowl (or stand mixer), combine the flour, remaining sugar, and salt. Make a well in the center.
Pour in the warm milk, melted butter, eggs, and your foamy yeast mixture.
If using a stand mixer: Use the dough hook on low speed for about 2 minutes until everything comes together. Then increase to medium speed and knead for 6-8 minutes.
If doing this by hand: Stir everything together with a wooden spoon until it’s too thick to stir. Then turn it out onto a floured surface and knead for about 10 minutes. You want the dough to be smooth and elastic.
Step 3: First Rise
Shape the dough into a ball and place it in a lightly greased bowl. Turn it once so the top is greased too.
Cover with a clean kitchen towel and set it somewhere warmish to rise until it doubles in size.
This usually takes about 60-90 minutes, but could be longer if your kitchen is cold.
Step 4: Shape the Rolls
Once your dough has doubled, punch it down (literally just press your fist into it to release the air).
Turn it out onto a lightly floured surface.
Divide the dough into 12 equal pieces. I like to weigh them on a kitchen scale to make sure they’re the same size, but you can also just eyeball it.
The shaping technique: Cup your hand over a piece of dough and move your hand in a circular motion against the counter. The dough will form a tight ball with a smooth top. You want some tension on the surface.
Step 5: Second Rise
Line your baking sheet with parchment paper.
Place the rolls on the sheet, leaving about 2 inches between each one (they’ll expand).
Cover loosely with your kitchen towel and let them rise again for 30-45 minutes. They should look puffy and almost doubled.
Step 6: Bake
Preheat your oven to 375°F while the rolls are doing their second rise.
Once they’re ready, brush the tops gently with some of the melted butter. If you want, sprinkle with a tiny bit of flaky sea salt.
Bake for 18-22 minutes, until they’re golden brown on top.
The tap test: They should sound hollow when you tap the bottom.
Step 7: The Butter Finish
As soon as they come out of the oven, brush them with more melted butter.
Let them cool for 5 minutes, then brush them again.
Transfer to a wire rack to cool completely, or just eat them warm. They’re honestly best warm.
Substitutions and Variations
Common Swaps
| Original Ingredient | Substitute | Result |
|---|---|---|
| Whole milk | 2%, oat milk, almond milk | Still soft, slightly less rich |
| Whole milk | Skim milk | Avoid – makes them dry |
| Butter | Coconut oil | Works for dairy-free, different flavor |
| All-purpose flour | Bread flour | Extra chewy texture (better!) |
| All-purpose flour | Half whole wheat | Heartier, add 2 tbsp extra liquid |
Flavor Variations
Sweet Rolls 🍯
- Add an extra tablespoon of sugar to the dough
- Brush with honey butter instead of regular butter
Garlic Herb Rolls 🌿
- Mix 2 tablespoons fresh chopped herbs (rosemary, thyme, parsley) into the butter
- Add 3 minced garlic cloves to the butter for brushing
Cheese Rolls 🧀
- Add ½ cup shredded cheddar or parmesan to the dough during mixing
- Sprinkle extra cheese on top before baking
Everything Bagel Rolls
- Brush with melted butter and sprinkle with everything bagel seasoning
Cinnamon Sugar Rolls
- Mix 2 tablespoons cinnamon with ¼ cup sugar
- Brush warm rolls with butter and roll in the cinnamon sugar
Make Ahead Tips
Refrigerator Method
Make the dough up through the first rise, then punch it down and refrigerate overnight.
The next day, let it come to room temperature for 30 minutes before shaping.
Freezer Method
You can freeze the shaped (but unbaked) rolls:
- After shaping, place them on a baking sheet and freeze until solid
- Transfer to a freezer bag and freeze for up to 3 months
- When ready to bake, let them thaw and do their second rise at room temperature (2-3 hours)
- Bake as directed
Leftovers and Storage
Storage Chart
| Storage Method | Duration | Best For |
|---|---|---|
| Room temperature (airtight container) | 3 days | Daily snacking |
| Refrigerator | 5 days | Longer storage |
| Freezer (wrapped individually) | 3 months | Meal prep |
Reheating Methods
Oven method (best): Wrap in foil and warm at 300°F for 10 minutes
Microwave method (fastest): 15-20 seconds per roll
Toaster method (crispy): Slice in half and toast like you would a bagel
Additional Details
Nutrition Breakdown (Per Roll)
| Nutrient | Amount |
|---|---|
| Calories | 210 |
| Protein | 6g |
| Carbohydrates | 32g |
| Fat | 6g |
| Fiber | 1g |
| Cholesterol | 45mg |
| Sodium | 300mg |
Time Investment
| Phase | Time |
|---|---|
| Active prep time | 30 minutes |
| First rise | 60-90 minutes |
| Shaping | 10 minutes |
| Second rise | 30-45 minutes |
| Baking | 18-22 minutes |
| Total | ~3 hours |
Timing Tip:
If you want fresh rolls for dinner at 6pm, start around 2:30pm. That gives you enough time for both rises and baking without rushing.
Perfect Pairings
These rolls are crazy versatile. Here’s what I love serving them with:
Soups & Stews
- Tomato soup (classic combo)
- Chicken noodle soup
- Beef stew
- French onion soup
Main Dishes
- Roast chicken
- Pot roast
- Pasta dishes
- Grilled salmon
Breakfast Ideas
- Slathered with butter and jam
- French toast made from day-old rolls
- Breakfast sandwiches
Slider Options
- Pulled pork sliders
- Fried chicken sliders
- Mini burgers
- Meatball subs
FAQ
Why didn’t my dough rise?
Usually it’s because the yeast was expired or the liquid was too hot/cold.
Check the expiration date on your yeast packet and use a thermometer to get your liquids to 110°F.
Can I make these without a stand mixer?
Absolutely! I made bread by hand for years before I got a mixer.
It just takes a bit more elbow grease and about 10 minutes of kneading instead of 6-8.
Why are my rolls dense?
This usually happens if you added too much flour or didn’t let them rise long enough.
The dough should be slightly sticky, and both rises are important for that light, fluffy texture.
Can I use instant yeast instead of active dry?
Yes! Use the same amount.
The difference is you can mix instant yeast directly into the dry ingredients instead of proofing it first. Skip step 1 and just add the yeast with the flour.
How do I know when they’re done baking?
They should be golden brown on top and sound hollow when you tap the bottom.
If you have an instant-read thermometer, the internal temperature should be around 190°F.
Can I add different flavors to the dough?
Definitely! You can mix in dried herbs, cheese, garlic, or even a bit of honey.
Just keep add-ins to about ½ cup total so you don’t mess with the dough structure.
Why do I need to brush them with butter twice?
The first brush right out of the oven creates that glossy finish.
The second brush adds extra flavor and keeps them soft as they cool. You could skip it, but why would you? 🧈
My kitchen is really cold. Will the dough still rise?
Yes, but it’ll take longer.
Try the oven trick: turn your oven to the lowest setting for 1 minute, turn it off, and let the dough rise in there with the door closed.
Can I make mini rolls or larger rolls?
Sure! For mini rolls, divide the dough into 24 pieces and bake for 12-15 minutes.
For larger rolls, divide into 8 pieces and bake for 22-25 minutes.
What’s the difference between bread flour and all-purpose flour?
Bread flour has more protein, which creates more gluten and gives you chewier, more structured rolls.
All-purpose works great too, just gives you a slightly softer texture.
Troubleshooting Guide
| Problem | Cause | Solution |
|---|---|---|
| Dense, heavy rolls | Too much flour | Use less flour next time; dough should be slightly sticky |
| Rolls didn’t brown | Oven too cool | Use an oven thermometer; increase temp by 25°F |
| Dry, crumbly texture | Not enough liquid | Add milk 1 tbsp at a time until dough is softer |
| Rolls spread instead of rising up | Dough too wet | Add more flour during kneading |
| Burnt bottoms | Baking sheet too dark | Use a light-colored baking sheet or double-pan |
Wrapping Up
There’s something really satisfying about making your own bread rolls from scratch.
They’re warm, they’re buttery, and they make any meal feel a little more special.
The first time I made these, I couldn’t believe how easy they were. And now they’re something I make at least once a month because they’re just that good.
So grab your ingredients, set aside a lazy afternoon, and make a batch. Your kitchen will smell incredible and you’ll have fresh bread rolls that beat anything from the store.
Once you make them, come back and let me know how they turned out! Did you add any fun flavors? Did your family devour them in one sitting? Drop a comments.


