You know that dessert that makes everyone go quiet at the dinner table?
This is it.
Banana pudding is one of those recipes that looks simple on paper but tastes like someone spent hours in the kitchen. Layers of creamy vanilla pudding, fresh bananas, and vanilla wafers all topped with clouds of whipped cream or meringue.
The thing is, most people think banana pudding is complicated. They see all those layers and assume it’s going to take forever or require some kind of pastry degree.
But here’s what I learned after making this about 50 times: it’s actually one of the easiest desserts you can make. You just need to know a few tricks to get that perfect texture and flavor that’ll have people asking for your recipe.
I’m talking about pudding so creamy it coats your spoon. Bananas that don’t turn brown and sad. And a texture that’s somehow both light and indulgent at the same time.
Let me show you exactly how to make it.
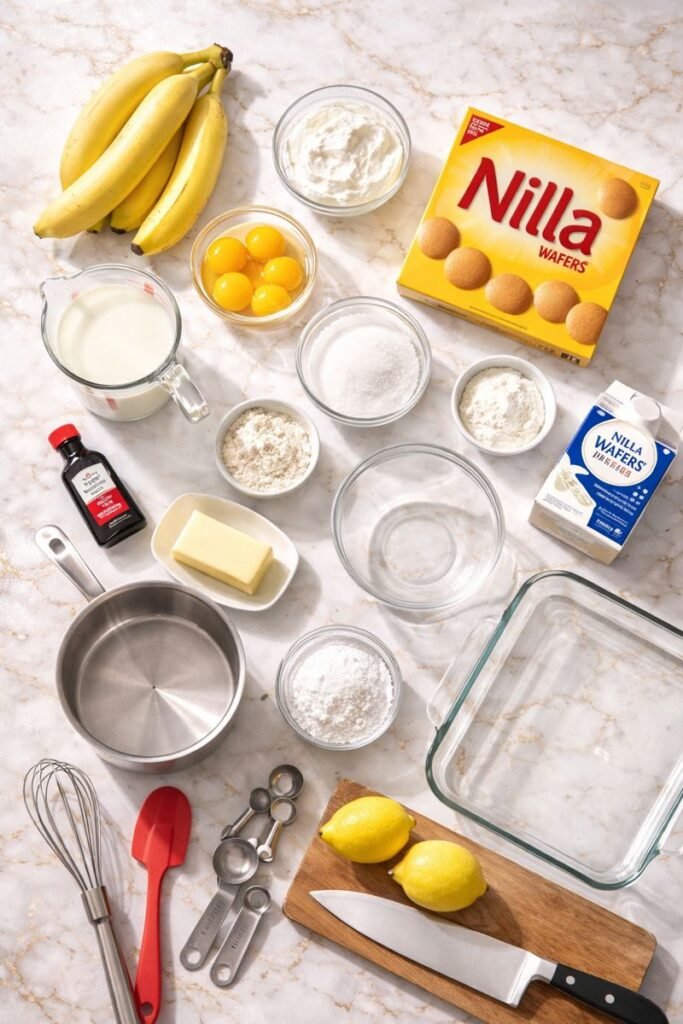
What You’ll Need
For the pudding:
- 3/4 cup granulated sugar
- 1/3 cup all-purpose flour
- 1/4 teaspoon salt
- 3 cups whole milk
- 4 large egg yolks
- 2 tablespoons unsalted butter
- 2 teaspoons pure vanilla extract
For the layers:
- 4 to 5 ripe but firm bananas
- 1 box (11 oz) vanilla wafer cookies (like Nilla Wafers)
- 1 tablespoon fresh lemon juice
For the topping:
- 2 cups heavy whipping cream
- 3 tablespoons powdered sugar
- 1 teaspoon vanilla extract
OR for meringue topping (optional):
- 4 large egg whites (room temperature)
- 1/2 teaspoon cream of tartar
- 1/2 cup granulated sugar
Tools You’ll Need
You may also like : banana bread recipe chocolate chip
Having the right tools makes this so much easier:
- Medium saucepan
- Whisk
- Mixing bowls (medium and large)
- Electric mixer or stand mixer
- 9×13 inch baking dish (or trifle bowl for presentation)
- Measuring cups and spoons
- Fine mesh strainer
- Rubber spatula
- Sharp knife and cutting board
Pro Tips
1. Make your own pudding, seriously
I know boxed pudding is tempting (and I won’t judge you if you use it), but homemade pudding takes this from good to “can I have seconds?” The flavor is richer, the texture is silkier, and it only takes about 15 minutes.
2. Keep those bananas from turning brown
This was a game changer for me. Toss your banana slices in a little lemon juice before layering. It keeps them from oxidizing and turning that weird gray-brown color. Nobody wants to see that in their dessert.
3. Don’t skip the cooling step
I learned this the hard way. If you add warm pudding to your layers, everything gets soggy and sad. Let that pudding cool completely, or at least to room temperature. Your wafers will thank you.
4. Layer like you mean it
Start with wafers on the bottom, then pudding, then bananas. Repeat. The wafers on the bottom soak up just enough pudding to get soft but not mushy. End with pudding so your top layer of whipped cream or meringue has something to sit on.
5. Chill it properly
This dessert needs at least 4 hours in the fridge (overnight is even better). The flavors meld together and the wafers soften to that perfect texture. Patience pays off here.
You’ll love these too : banana cake recipe
How to Make Banana Pudding

Step 1: Make the pudding
In your medium saucepan, whisk together the sugar, flour, and salt. Add the milk gradually while whisking to avoid lumps.
Place the pan over medium heat and cook, stirring constantly, until the mixture thickens and starts to bubble. This takes about 8 to 10 minutes. Don’t walk away during this part or you’ll end up with scorched pudding on the bottom.
Step 2: Temper the egg yolks
In a separate bowl, whisk your egg yolks. Take about 1 cup of the hot pudding mixture and slowly pour it into the yolks while whisking constantly. This is called tempering, and it prevents scrambled eggs in your pudding (trust me, you don’t want that).
Pour the egg mixture back into the saucepan and cook for another 2 minutes, stirring the whole time. The pudding should coat the back of a spoon at this point.
Step 3: Finish the pudding
Remove from heat and stir in the butter and vanilla extract. Pour the pudding through a fine mesh strainer into a clean bowl to remove any lumps. Press plastic wrap directly onto the surface of the pudding (this prevents that weird skin from forming) and let it cool to room temperature.
Step 4: Prep your bananas
Slice your bananas into 1/4-inch rounds. Toss them gently with the lemon juice in a bowl. This step is clutch for keeping them looking fresh.
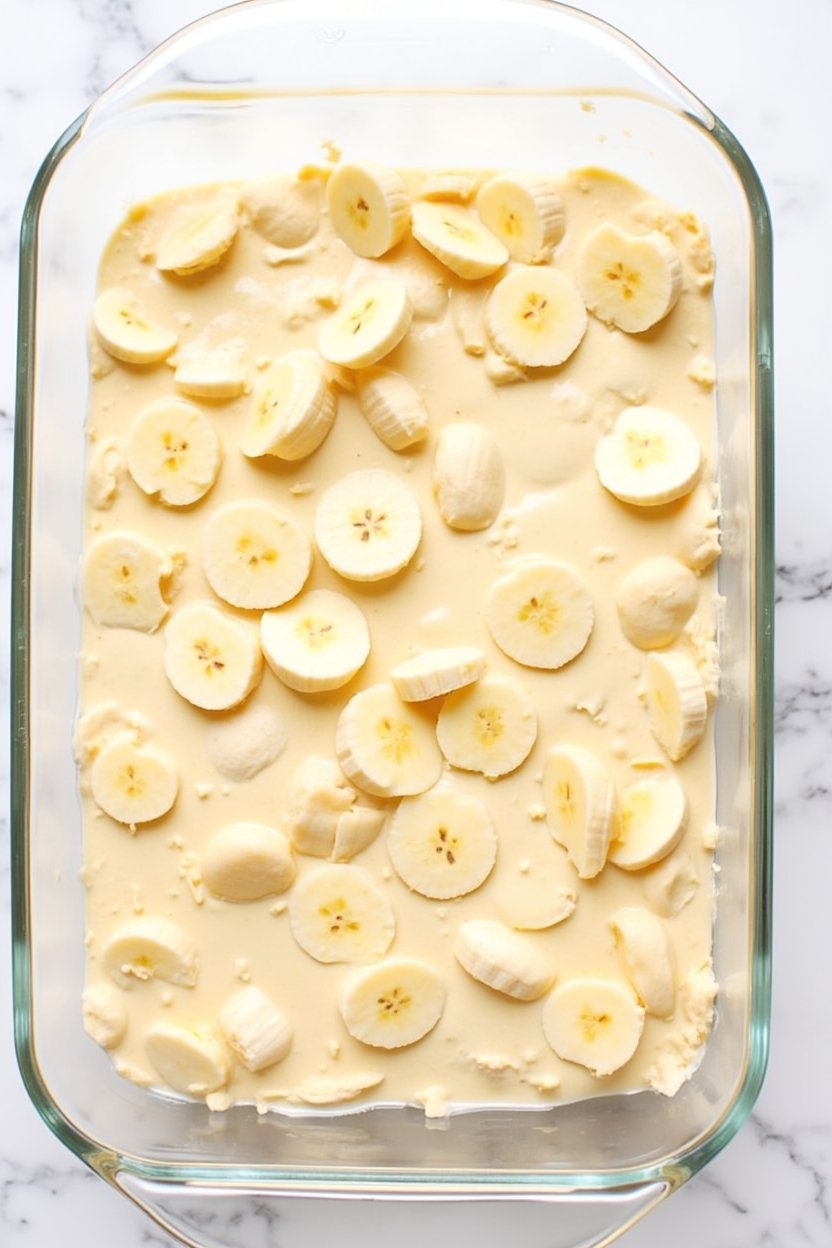
Step 5: Start layering
In your 9×13 baking dish, arrange a layer of vanilla wafers on the bottom. You want them close together but they don’t need to overlap.
Spread about one-third of the pudding over the wafers. Top with one-third of the banana slices.
Repeat this two more times: wafers, pudding, bananas. You should end with a layer of pudding on top.
Step 6: Make your topping
For whipped cream: Beat the heavy cream, powdered sugar, and vanilla extract in a large bowl with an electric mixer until stiff peaks form. Spread it over the top layer of pudding.
For meringue: Beat the egg whites and cream of tartar until soft peaks form. Gradually add the sugar while beating until stiff, glossy peaks form. Spread over the pudding, making sure to seal the edges. Bake at 350°F for 10 to 12 minutes until the meringue is golden brown.
Recommended for you : paula deen banana pudding recipe
Step 7: Chill
Cover the dish with plastic wrap and refrigerate for at least 4 hours or overnight. The longer it sits, the better it gets as the flavors develop and the wafers soften.
Substitutions and Variations
Dairy-free version: Use coconut milk instead of whole milk and coconut cream instead of heavy cream. The pudding will have a subtle coconut flavor but it’s delicious.
Chocolate lovers: Add 1/2 cup cocoa powder to the pudding mixture for chocolate banana pudding. Use chocolate wafers instead of vanilla ones.
Peanut butter twist: Swirl 1/2 cup creamy peanut butter into the finished pudding before layering. It’s ridiculously good.
Banana cream pie style: Make this in a graham cracker crust instead of layering in a dish. Chill and slice like a pie.
Individual servings: Layer in mason jars or small glasses for cute single-serve portions. Perfect for parties.
Caramel drizzle: Drizzle some caramel sauce between the layers or on top of the whipped cream for extra decadence.
Reduced sugar: Cut the sugar in the pudding to 1/2 cup and use sugar-free wafers. It’ll still be sweet from the bananas.
Make Ahead Tips
This is actually a perfect make-ahead dessert.
You can make the pudding up to 2 days in advance. Just keep it covered in the fridge with plastic wrap pressed against the surface.
The fully assembled dessert (minus the whipped cream or meringue topping) can sit in the fridge for up to 24 hours. Add the topping right before serving.
If you’re using meringue and want to make it ahead, you can brown the meringue up to 6 hours before serving. Just keep it refrigerated.
Don’t slice the bananas more than 30 minutes before assembling or they’ll start to brown even with lemon juice.
Nutritional Information
Per serving (based on 12 servings with whipped cream topping):
- Calories: 385
- Total Fat: 18g
- Saturated Fat: 11g
- Cholesterol: 115mg
- Sodium: 125mg
- Total Carbohydrates: 52g
- Dietary Fiber: 1.5g
- Sugars: 35g
- Protein: 5g
Note: These values are approximate and will vary based on specific ingredients used and portion sizes.
Leftovers and Storage
Store any leftover banana pudding covered in the refrigerator. It’ll keep for 3 to 4 days.
The whipped cream might deflate a bit after the first day, but it still tastes amazing. If you used meringue, it tends to hold up better over time.
The texture changes slightly as it sits because the wafers continue to soften, but many people (myself included) actually prefer it this way.
I don’t recommend freezing banana pudding. The bananas get mushy and weird when thawed, and the pudding separates. Just make what you’ll eat within a few days.
If you want to extend the life of your leftovers, scrape off any brown banana slices from the top layer before storing.
FAQ
Can I use instant pudding instead of making it from scratch?
You can, and I won’t judge you for it. Use two 3.4 oz boxes of instant vanilla pudding prepared according to package directions. Just know that homemade pudding has a richer flavor and better texture.
Why did my pudding turn out lumpy?
Two main reasons: you didn’t whisk enough when adding the milk to the dry ingredients, or you let it boil too hard. Constant stirring and medium heat are your friends here. If it does get lumpy, just strain it through a fine mesh strainer.
How ripe should the bananas be?
You want them ripe but still firm. Yellow with maybe a few small brown spots is perfect. Avoid bananas that are mostly brown or super green. The green ones won’t have enough flavor, and the really ripe ones will get mushy too quickly.
Can I make this in a trifle bowl?
Absolutely! It looks gorgeous in a trifle bowl and makes for a stunning presentation. Just layer the same way you would in a baking dish.
My wafers are still crunchy. What did I do wrong?
They probably didn’t have enough time to soften. Make sure you’re using enough pudding to really coat them, and give the dessert at least 4 hours to chill. Overnight is ideal for that perfect soft-but-not-soggy texture.
Why is my meringue weeping (producing liquid)?
This happens when the meringue isn’t fully cooked or if there’s too much moisture. Make sure you bake it until it’s golden brown, and seal the edges completely to the pudding underneath. Also, don’t refrigerate meringue-topped desserts for too long.
Can I add other fruits besides bananas?
You could try sliced strawberries or diced peaches, but banana pudding is called banana pudding for a reason. The flavor of bananas with vanilla is pretty iconic. If you switch fruits, you’re making a different dessert entirely (which could still be delicious).
How do I know when the pudding is thick enough?
It should coat the back of a spoon and hold a line when you run your finger through it. It’ll also thicken more as it cools, so don’t overcook it trying to get it super thick on the stove.
Can I double this recipe?
Yes! Just use a larger dish or make two 9×13 pans. The cooking time for the pudding will be the same, but you might need to work in batches depending on the size of your saucepan.
What’s the difference between using whipped cream vs meringue?
Whipped cream is lighter, easier, and doesn’t require baking. Meringue is more traditional Southern-style, has a beautiful toasted look, and holds up better over time. Both are delicious, so it’s really just personal preference.
Wrapping Up
There’s a reason banana pudding shows up at every potluck, family gathering, and Sunday dinner in the South.
It’s the kind of dessert that makes people nostalgic. The kind that disappears fast and has everyone asking if there’s more.
And now you know how to make it perfectly every time. Creamy pudding, fresh bananas that don’t turn brown, and those vanilla wafers softened just right.
Make this for your next get-together and watch it become the dessert everyone requests. Or make it on a random Tuesday just because you deserve something good.
Either way, I’d love to hear how it turns out for you. Did you go with whipped cream or meringue? Any creative variations you tried? Drop a comment below and let me know what you think! 🍌


1 thought on “The Creamiest Banana Pudding You’ll Ever Make”