You know those overripe bananas sitting on your counter right now?
The ones you keep walking past, pretending they’re not turning browner by the hour?
Stop ignoring them.
They’re about to become the most incredible banana bread you’ve ever tasted.
I’m not exaggerating. This recipe turned me from someone who thought banana bread was just okay into someone who keeps bananas on hand specifically to let them go bad.
My husband thinks I’ve lost it.
But once you taste this, you’ll understand.
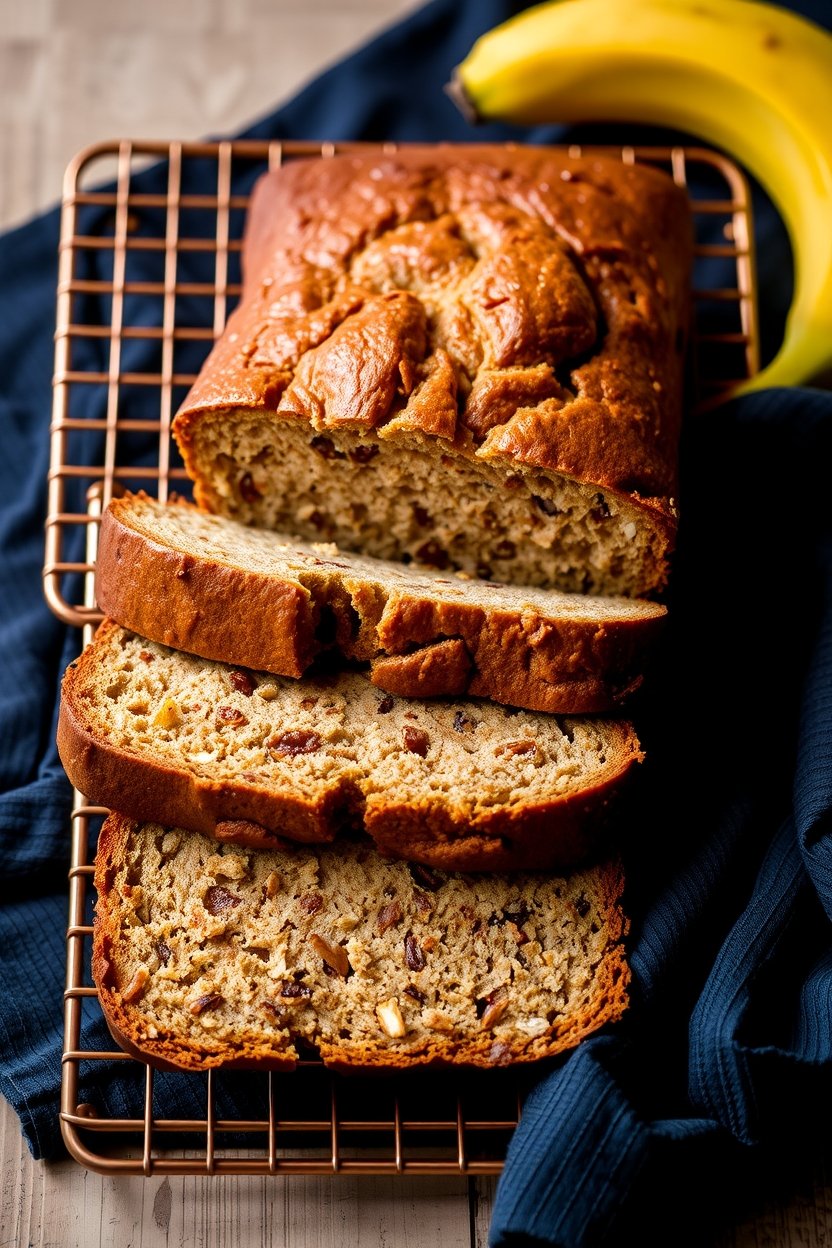
The texture is perfectly moist without being gummy. The flavor is rich and banana-forward without tasting artificial.
And the top?
It gets this gorgeous golden crust that’s slightly crispy while the inside stays soft and tender.
I’ve made this recipe at least 30 times in the past year. I’ve brought it to brunches, packed it for road trips, and eaten it straight from the pan at midnight.
Every single time, people ask for the recipe.
So here it is.
Quick Look
| Prep Time | 10 minutes |
| Bake Time | 60-65 minutes |
| Total Time | 1 hour 20 minutes |
| Servings | 10-12 slices |
| Difficulty | Super easy |
| Best For | Breakfast, snack, or dessert |
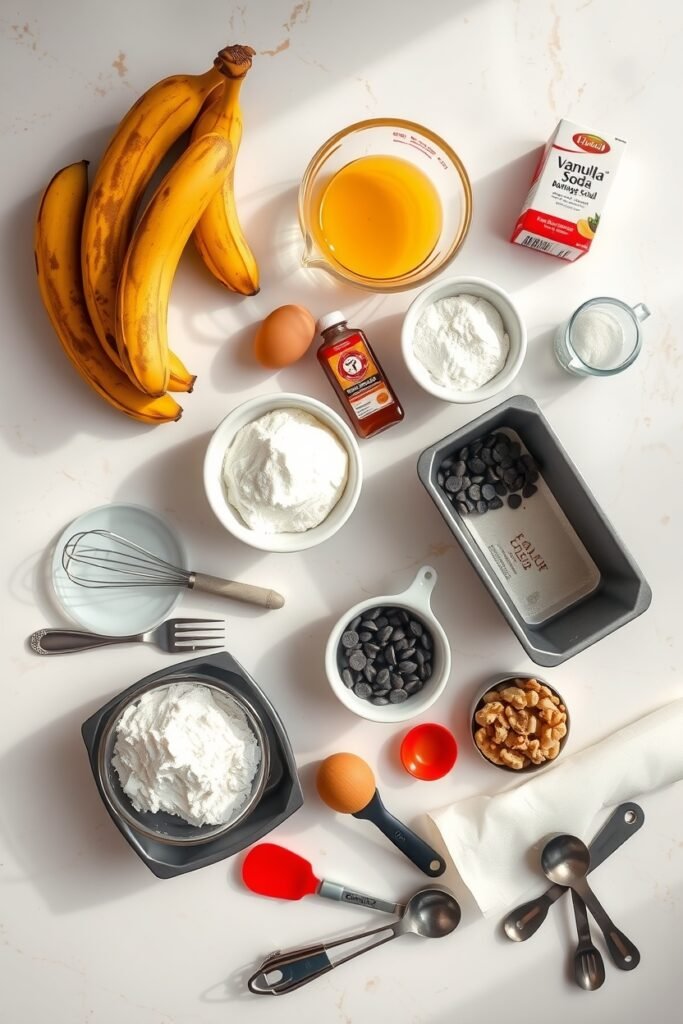
What You’ll Need
Main Ingredients
| Ingredient | Amount | Notes |
|---|---|---|
| Overripe bananas | 3 large | The browner, the better! |
| Melted butter | ⅓ cup | Unsalted preferred |
| Granulated sugar | ¾ cup | White or brown works |
| Egg | 1 large | Room temperature |
| Vanilla extract | 1 tsp | Pure, not imitation |
| Baking soda | 1 tsp | Fresh for best rise |
| Salt | ¼ tsp | Just a pinch |
| All-purpose flour | 1½ cups | Spooned and leveled |
Optional Mix-Ins (Pick Your Favorites!)
- Chocolate chips – ½ cup for chocolate lovers 🍫
- Walnuts or pecans – ½ cup, chopped
- Dried cranberries or raisins – ¼ cup
- Cinnamon – ½ tsp for warmth
- Nutella swirl – 3 tablespoons swirled on top
Tools You’ll Need
You probably have most of these already:
- [ ] 9×5 inch loaf pan
- [ ] 2 mixing bowls
- [ ] Fork or potato masher
- [ ] Whisk
- [ ] Rubber spatula
- [ ] Measuring cups and spoons
- [ ] Parchment paper (optional but game-changing)
- [ ] Cooling rack
Pro Hack: Line your loaf pan with parchment paper with overhang on the sides. You’ll thank me when you lift that perfect loaf out without any sticking.
Pro Tips
🍌 Banana Ripeness is Everything
Those bananas should be covered in brown spots or even completely brown.
The riper they are, the sweeter and more flavorful your bread will be.
If your bananas aren’t ripe enough, you can speed things up by putting them in a paper bag for a day or two. Or stick them in a 300°F oven for 15-20 minutes until the skins turn black.
🥣 The Golden Rule: Don’t Overmix
Once you add the flour, mix just until you can’t see any white streaks. That’s it. Stop.
Overmixing develops the gluten and makes your bread tough instead of tender.
It should take maybe 20-30 strokes total. The batter will look lumpy and that’s exactly what you want.
🥚 Temperature Matters
Take your egg out of the fridge about 30 minutes before you start baking.
If you forget, just put it in a bowl of warm water for 5 minutes.
This helps everything incorporate smoothly without having to overmix.
🔥 The Toothpick Test Never Lies
Insert a toothpick into the center of the loaf around the 60-minute mark.
Clean or a few moist crumbs = done
Wet batter = needs more time
Give it another 5 minutes and check again if needed.
⏰ Patience Pays Off
Let it cool completely before slicing.
I know it’s torture to wait, but cutting into warm banana bread makes it gummy and it’ll fall apart.
Give it at least 10 minutes in the pan, then another 20-30 minutes on a wire rack.
How to Make It

Step 1️⃣: Get Your Oven Ready
Preheat your oven to 350°F (175°C).
Grease your 9×5 inch loaf pan with butter or cooking spray.
If you have parchment paper, line the bottom and let it hang over the sides. This makes it super easy to lift the bread out later.
Step 2️⃣: Mash Those Bananas
Peel your bananas and put them in a large mixing bowl.
Use a fork or potato masher to mash them until they’re mostly smooth. A few small lumps are fine.
You should end up with about 1 to 1¼ cups of mashed banana.
Quick Tip: The riper your bananas, the easier they mash. If they’re perfectly brown, you can basically just stir them with a fork.
Step 3️⃣: Mix the Wet Ingredients
Pour the melted butter into your mashed bananas and stir it together.
Add the sugar and mix until combined.
Beat in the egg and vanilla extract.
The mixture should look smooth and slightly glossy.
Step 4️⃣: Add the Baking Soda and Salt
Sprinkle the baking soda and salt directly over your wet mixture.
Stir it in well.
You might see it fizz a little. That’s the baking soda reacting with the acidity in the bananas. It’s totally normal and actually a good sign!
Step 5️⃣: Fold in the Flour
Add all the flour at once.
Using a rubber spatula, gently fold the flour into the wet ingredients. Use a folding motion instead of stirring.
Stop as soon as you don’t see any more white streaks.
The batter will be thick and look a bit lumpy. That’s exactly what you want.
Step 6️⃣: Add Any Mix-Ins
If you’re using chocolate chips, nuts, or dried fruit, gently fold them in now.
Just a few strokes to distribute them evenly.
Step 7️⃣: Bake It
Pour the batter into your prepared loaf pan and smooth the top with your spatula.
Tap the pan on the counter a couple times to release any air bubbles.
Bake for 60-65 minutes.
| Time Check | What to Look For |
|---|---|
| 45 minutes | Top starting to brown? Cover loosely with foil |
| 60 minutes | Insert toothpick in center |
| Done when | Toothpick has just a few moist crumbs |
The top should be golden brown and a toothpick inserted in the center should come out clean or with just a few crumbs.
Step 8️⃣: Cool and Enjoy
Let the bread cool in the pan for about 10 minutes.
Then run a knife around the edges and lift it out using the parchment paper overhang (or carefully flip it onto a wire rack).
Let it cool for at least 20-30 minutes before slicing.
Reality Check: I’ve never actually waited the full 30 minutes. 20 minutes is my absolute limit before I’m cutting into it. Just know that the longer you wait, the cleaner your slices will be.
Substitutions and Variations
Ingredient Swaps That Actually Work
| Instead of… | Use This | What Changes |
|---|---|---|
| White sugar | Brown sugar | Deeper, caramel-like flavor |
| White sugar | Coconut sugar | Subtle complexity, slightly less sweet |
| Butter | Coconut oil | Slight coconut flavor, dairy-free |
| Butter | Vegan butter | Dairy-free, almost identical taste |
| All-purpose flour | Half whole wheat | Nuttier flavor, denser texture |
| Regular egg | Flax egg (1 tbsp flax + 3 tbsp water) | Vegan option, slightly denser |
| ¼ cup sugar | Honey or maple syrup | Reduce butter by 1 tbsp, adds moisture |
Flavor Variations to Try
🍫 Chocolate Banana Bread
Add ½ cup chocolate chips + 2 tbsp cocoa powder to the flour.
🌰 Nutty Banana Bread
Fold in ½ cup chopped walnuts, pecans, or almonds.
☕ Coffee Shop Style
Add ½ tsp cinnamon + ¼ tsp nutmeg + streusel topping (mix ¼ cup flour, ¼ cup brown sugar, 2 tbsp cold butter).
🥥 Tropical Twist
Use coconut oil, add ½ cup shredded coconut + ¼ cup chopped macadamia nuts.
🍓 Berry Banana
Fold in ¾ cup fresh or frozen blueberries or chopped strawberries.
Flavor Bomb Combo: My personal favorite is chocolate chips + a pinch of espresso powder + sea salt flakes on top. Trust me on this one.
Make Ahead Tips
Prep the batter in advance:
The batter can sit at room temperature for up to 30 minutes before baking. Just give it a gentle stir before pouring it into the pan.
Freeze the batter:
Pour it into a greased, freezer-safe loaf pan, cover tightly with plastic wrap and foil, and freeze for up to 2 months.
Thaw in the fridge overnight, then bake as directed (you might need an extra 5-10 minutes).
Bake it the night before:
Perfect for weekend brunches. Just wrap it well and it’ll taste amazing the next morning.
Leftovers and Storage
Storage Options at a Glance
| Method | How Long | Best For |
|---|---|---|
| Counter (wrapped) | 3-4 days | Daily snacking |
| Fridge (wrapped) | Up to 1 week | Longer freshness |
| Freezer (sliced) | Up to 3 months | Meal prep |
How to Store It Right
Room Temperature:
Wrap the cooled bread tightly in plastic wrap or aluminum foil. It’ll stay fresh for 3-4 days on your counter.
Refrigerator:
If you want it to last longer, wrap it well and refrigerate for up to a week. Just know that refrigeration can dry it out slightly.
Freezer (My Favorite Method):
Wrap individual slices in plastic wrap, then put them all in a freezer bag. They’ll keep for up to 3 months.
When you want a slice, just pop it in the toaster or microwave for 20-30 seconds.
Morning Hack: I keep slices in the freezer and toast them straight from frozen. 2 minutes in the toaster + butter = instant breakfast that tastes freshly baked.
Reviving Day-Old Bread
Slice it and toast it with a little butter.
Or wrap a slice in a damp paper towel and microwave for 15-20 seconds.
Game changer.
Nutrition & Pairing Ideas
Nutritional Breakdown
Per slice (based on 12 slices, no mix-ins):
| Nutrient | Amount |
|---|---|
| Calories | 185 |
| Fat | 6g |
| Carbohydrates | 31g |
| Protein | 3g |
| Fiber | 1g |
| Sugar | 16g |
Make It a Complete Meal
☕ Breakfast Ideas:
- Toasted slice + cream cheese + fresh berries
- With Greek yogurt and honey drizzle
- Alongside scrambled eggs and coffee
- Topped with almond butter and sliced banana
🍽️ Snack Pairings:
- With your afternoon tea or latte
- Alongside a cheese board (sounds weird, tastes amazing)
- Warmed up with vanilla ice cream
- Plain with a cold glass of milk
🎉 Dessert Upgrades:
- Warm slice + scoop of vanilla ice cream
- Topped with whipped cream and caramel sauce
- Make it into French toast (life-changing)
- Crumble it over yogurt parfaits
Unexpected Pairing: Try it with sharp cheddar cheese. Sweet + savory = mind blown. Don’t knock it till you try it.
Dietary Modifications
| Diet Type | Modifications Needed |
|---|---|
| Gluten-Free | Use 1:1 gluten-free flour blend |
| Vegan | Flax egg + vegan butter or coconut oil |
| Lower Sugar | Reduce sugar to ½ cup (still delicious) |
| Paleo | Almond flour (2 cups) + coconut sugar |
| Dairy-Free | Use coconut oil instead of butter |
FAQ
🤔 Your Questions Answered
Can I use frozen bananas?
Yes! Thaw them completely and drain off any excess liquid before mashing.
Frozen bananas actually work great because they get super soft and sweet.
Why did my banana bread sink in the middle?
This usually happens if you overmix the batter or if your oven temperature is off.
Make sure you’re folding gently and check your oven with an oven thermometer.
Can I make this in a different pan size?
You can use a 8×4 inch pan, but you’ll need to bake it for about 10 minutes longer.
For muffins, fill the cups ¾ full and bake for 20-25 minutes.
My bread is done on top but raw in the middle. What happened?
Your oven temperature is probably too high.
Cover the top with foil and continue baking at 325°F until a toothpick comes out clean.
Can I double this recipe?
Absolutely. Just use two loaf pans and bake them at the same time.
The baking time should be the same.
How ripe do the bananas really need to be?
At minimum, they should have lots of brown spots.
Ideally, they’re mostly or completely brown.
I’ve used bananas that looked like they should’ve been thrown out a week ago and they made the best banana bread ever.
Fun Fact: The enzyme that turns bananas brown also converts starches into sugars, making them sweeter. So those ugly brown bananas are actually perfect for baking.
Can I add protein powder?
Yes, but replace only ¼ cup of the flour with protein powder.
More than that and your bread will be dry and dense.
Why is my banana bread dry?
You probably overbaked it or overmixed the batter.
Banana bread should still feel moist when you press on it gently. Start checking it at the 55-minute mark.
Can I make this without eggs?
Try using ¼ cup of unsweetened applesauce or a flax egg instead.
The texture will be slightly different but still good.
How do I know when it’s actually done?
The top should be deep golden brown, the bread should pull away slightly from the sides of the pan, and a toothpick inserted in the center should come out with just a few moist crumbs.
| Visual Check | What It Means |
|---|---|
| Golden brown top | Good color development |
| Edges pull from pan | Structure is set |
| Toothpick with crumbs | Perfectly moist inside |
| Smells amazing | You nailed it! |
Wrapping Up
There you have it.
The banana bread recipe that’ll make you actually excited about those brown bananas instead of feeling guilty about them.
This recipe works every single time.
It’s reliable, it’s delicious, and it makes your whole house smell incredible.
The next time you’re stress-baking at 10 PM or need to bring something to a brunch, this is your answer.
Mix it up in 10 minutes, throw it in the oven, and an hour later you’ll have something that looks and tastes like you spent way more effort on it than you actually did.
Make it this weekend.
Then come back and tell me if you ate half the loaf in one sitting like I always do.
Drop a comment below if you try it out or if you have any questions. I’d love to hear how it turns out for you! 🍌


