Remember the last time you walked past a bakery and that deep, earthy smell just pulled you in?
That’s what your kitchen is about to smell like.
Rye bread has this rich, slightly tangy flavor that turns a simple sandwich into something you actually look forward to eating. And here’s the thing: making it at home isn’t nearly as complicated as you’d think.
I know bread baking can feel intimidating. All that kneading, proofing, timing.
But once you get the rhythm down, it becomes almost meditative.
Plus, there’s something really satisfying about slicing into a loaf you made yourself.
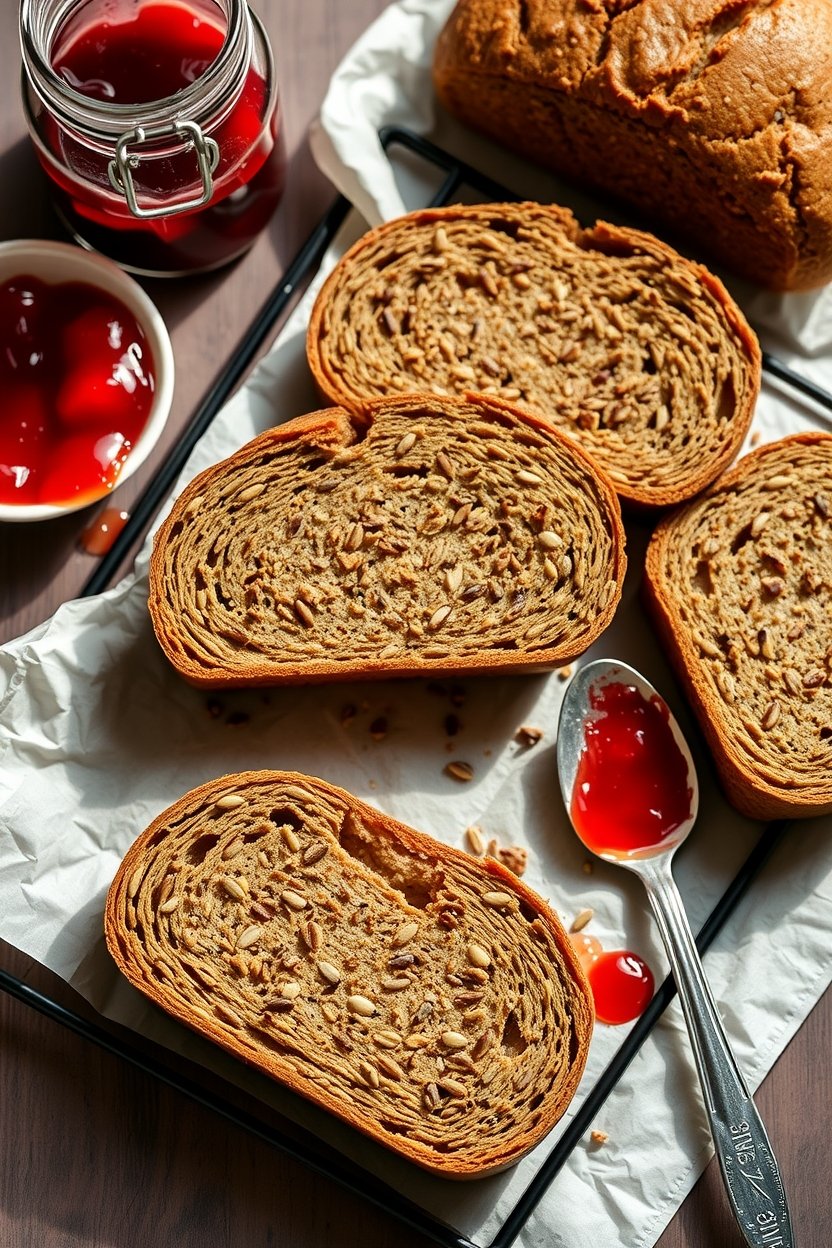
This recipe gives you a hearty, dense bread with a chewy crust and that signature rye flavor. Perfect for sandwiches, toast with butter, or just eating warm straight from the oven (no judgment).
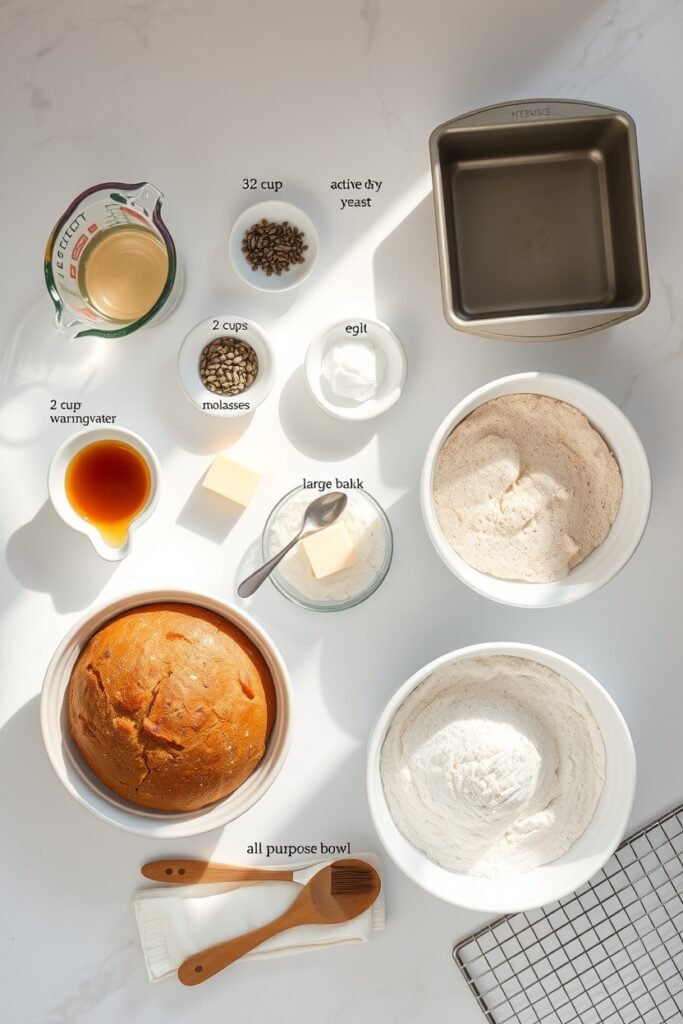
What You’ll Need
The Dough
| Ingredient | Amount | Why It Matters |
|---|---|---|
| Warm water (110°F) | 2 cups | Activates the yeast |
| Active dry yeast | 2 tablespoons | Makes the bread rise |
| Molasses | 1/3 cup | Adds depth and color |
| Caraway seeds | 2 tablespoons | Classic rye flavor |
| Butter, softened | 2 tablespoons | Enriches the dough |
| Salt | 1 tablespoon | Enhances all flavors |
| Rye flour | 2 1/2 cups | The star ingredient |
| All-purpose flour | 3 to 3 1/2 cups | Provides structure |
The Egg Wash
- 1 egg white
- 1 tablespoon water
Quick Tip: This makes 2 loaves. Making two at once is actually easier than making one, and you can freeze the second loaf for later.
Tools You’ll Need
Here’s your equipment checklist:
✓ Large mixing bowl
✓ Wooden spoon or dough whisk
✓ Clean kitchen towel
✓ Two 9×5 inch loaf pans
✓ Pastry brush
✓ Sharp knife or bread lame
✓ Cooling rack
Optional but helpful: Kitchen thermometer, stand mixer with dough hook
Pro Tips
These are the things I wish someone had told me the first time I made rye bread:
1. Temperature Is Everything
Your water should be 110°F. Test it on your wrist like you would baby formula.
Too hot = dead yeast
Too cold = no activation
Just right = foamy, active yeast in 5 minutes
2. Embrace the Sticky
Rye dough is naturally stickier than regular bread dough.
Don’t panic and add too much flour.
The dough should be slightly sticky to the touch. This is normal and actually good.
3. Create Your Own Proofing Box
Turn your oven to the lowest setting for 2 minutes, then turn it off.
Put your dough inside with the door closed.
Boom. Perfect rising environment every single time.
4. Those Slashes Aren’t Just Pretty
Score the top before baking. This lets steam escape and helps the bread rise evenly.
No scoring = unpredictable cracks and uneven rise
5. The Caraway Seed Debate
I know some people skip them. But try them at least once.
They give rye bread that authentic, bakery-style flavor you can’t get any other way.
Substitutions and Variations
| Instead of This | Try This | The Result |
|---|---|---|
| Molasses | Honey | Lighter color, milder sweetness |
| Medium rye flour | Dark rye flour | Intense flavor, darker bread |
| Caraway seeds | Orange zest | Subtle citrus twist |
| Butter | Olive oil | Dairy-free version |
| All-purpose flour | Whole wheat flour (1 cup) | Heartier texture, more fiber |
Fun Add-Ins
Want to get creative? Fold these in after mixing:
🌻 Sunflower seeds (1/2 cup) – Nutty crunch
🎃 Pumpkin seeds (1/2 cup) – Earthy flavor
🧀 Shredded cheddar (1 cup) – Savory richness
🌿 Fresh dill (2 tablespoons) – Scandinavian twist
Make Ahead Tips
Break up the work however it fits your schedule:
| Method | Timeline | Best For |
|---|---|---|
| Overnight Rise | Mix dough, refrigerate overnight | Developing deeper flavor |
| Freeze the Dough | After first rise, freeze up to 3 months | Making ahead for events |
| Freeze Baked Loaves | Bake, cool, freeze up to 3 months | Always having bread on hand |
Pro move: Slice the bread before freezing so you can pull out individual slices for toast.
How to Make Rye Bread

Step 1: Activate the Yeast (5 minutes)
Pour warm water into your mixing bowl.
Sprinkle yeast on top.
Add molasses.
Stir once and wait.
In 5 minutes, it should look foamy and smell yeasty. If it doesn’t, your yeast is dead. Start over with fresh yeast.
What You’re Looking For: A thick foam layer on top, like a cappuccino. That’s your yeast eating the sugars and creating CO2.
Step 2: Mix the Dough (10 minutes)
Add to the foamy yeast mixture:
- Caraway seeds
- Butter
- Salt
Stir until the butter starts to melt.
Dump in all the rye flour at once. Mix until combined. The mixture will look thick and sticky.
Now add all-purpose flour, 1 cup at a time.
After 3 cups, check the dough. It should pull away from the bowl sides but still feel tacky.
The finger test: Press your finger into the dough. It should stick slightly but not coat your finger.
Step 3: Knead (8-10 minutes)
Turn the dough onto a floured surface.
Knead using the push-fold-turn method:
- Push the dough away with your palms
- Fold it back over itself
- Turn it 90 degrees
- Repeat
The dough will never be as smooth as white bread. That’s okay.
Ready test: Poke the dough. It should spring back slowly, leaving a small indent.
Step 4: First Rise (1-1.5 hours)
Place dough in a greased bowl.
Turn it once so the top is greased too.
Cover with a kitchen towel.
Let it rise until doubled in size.
| Temperature | Rise Time |
|---|---|
| Warm spot (75-80°F) | 1 hour |
| Cool kitchen (65-70°F) | 1.5-2 hours |
| Refrigerator | 8-12 hours |
How to tell it’s ready: Press two fingers into the dough. If the indents stay, it’s ready. If they spring back, give it more time.
Step 5: Shape the Loaves (5 minutes)
Punch down the dough. Literally punch it.
Turn it out and divide in half.
For each half:
- Flatten into a rectangle (about 9×12 inches)
- Roll tightly from the short end
- Pinch the seam closed
- Place seam-side down in greased loaf pan
Step 6: Second Rise (30-45 minutes)
Cover the pans with your towel.
Let rise until the dough is about 1 inch above the pan rim.
While waiting, preheat your oven to 350°F.
Don’t skip this step. The second rise is what gives you that light, airy texture instead of a dense brick.
Step 7: Egg Wash + Score (3 minutes)
Beat egg white with 1 tablespoon water.
Brush over the tops of both loaves.
Using a sharp knife, make 3-4 diagonal slashes across each loaf, about 1/4 inch deep.
Slash at a 45-degree angle for the most dramatic effect.
Step 8: Bake (35-40 minutes)
Pop both pans in the oven.
Bake until dark golden brown.
Done test: Tap the bottom of the loaf. It should sound hollow. Or use a thermometer – it should read 190°F in the center.
Step 9: Cool (30 minutes minimum)
Remove from pans immediately.
Place on a cooling rack.
I know you want to slice it right now. Don’t.
Cutting into hot bread releases all the steam and makes it gummy inside.
Wait at least 30 minutes. Better yet, wait an hour.
Visual Timeline
| Time | What’s Happening |
|---|---|
| 0:00 | Mix ingredients |
| 0:15 | Start kneading |
| 0:25 | First rise begins |
| 1:55 | Shape loaves |
| 2:00 | Second rise begins |
| 2:45 | Bake begins |
| 3:25 | Bread comes out |
| 3:55 | Ready to slice! |
Total active time: About 45 minutes
Total time: About 4 hours (but most of it is just waiting)
Leftovers and Storage
Storage Guide
| Method | Duration | Best For |
|---|---|---|
| Counter (bread box) | 3-4 days | Daily eating |
| Freezer (sliced) | 3 months | Long-term storage |
| Freezer (whole loaf) | 3 months | Special occasions |
Never refrigerate bread. The fridge actually makes it go stale faster through a process called retrogradation.
Reviving Stale Bread
Got a loaf that’s past its prime? Here’s what to do:
🔥 Oven method: Wrap in foil, heat at 300°F for 10 minutes
💧 Steam method: Sprinkle with water, microwave 10 seconds
🍞 Toast it: Sometimes the obvious answer is the right one
🥗 Make croutons: Cube, toss with oil and seasonings, bake at 350°F until crispy
Nutritional Breakdown
Per Slice (1/24 of recipe)
| Nutrient | Amount | % Daily Value |
|---|---|---|
| Calories | 110 | – |
| Protein | 3g | 6% |
| Carbs | 21g | 7% |
| Fiber | 2g | 8% |
| Fat | 1.5g | 2% |
| Sodium | 195mg | 8% |
Why Rye Bread Is Actually Good for You
✓ Lower glycemic index than white bread (won’t spike blood sugar)
✓ More fiber keeps you fuller longer
✓ Rich in B vitamins for energy
✓ Contains manganese for bone health
✓ Good source of selenium for immune function
Fun fact: Rye bread can contain up to 20% more fiber than whole wheat bread, depending on the flour blend.
Perfect Pairings
The Ultimate Rye Bread Combinations
| Topping | Why It Works | Occasion |
|---|---|---|
| Corned beef, Swiss, sauerkraut, Russian dressing | Classic Reuben – tangy meets savory | Lunch |
| Smoked salmon, cream cheese, capers, red onion | Rich fish needs hearty bread | Brunch |
| Avocado, fried egg, red pepper flakes | Creamy + crunchy + spicy | Breakfast |
| Butter + sea salt | Let the bread shine | Anytime |
| Sharp cheddar + apple slices | Sweet and savory magic | Snack |
Soup Pairings
Rye bread’s dense texture makes it perfect for dipping:
🍲 Mushroom soup – Earthy + earthy
🥩 Beef stew – Holds up to thick, hearty stews
🧅 French onion soup – Classic pairing
🥔 Potato leek soup – Comforting combination
Troubleshooting Guide
Common Problems + Solutions
| Problem | Cause | Solution |
|---|---|---|
| Dough won’t rise | Dead yeast or water too hot/cold | Check water temp with thermometer; use fresh yeast |
| Bread is too dense | Under-proofed or over-floured | Let it rise fully; resist adding too much flour |
| Crust is too hard | Overbaked | Check at 35 minutes; cover with foil if browning too fast |
| Bread tastes bitter | Over-fermented | Stick to recommended rise times |
| Loaf collapsed | Over-proofed | Watch the second rise carefully; bake when just 1″ above pan |
| Gummy texture | Cut while too hot | Wait at least 30 minutes before slicing |
FAQ
Why is my dough so sticky?
Rye flour has less gluten than wheat flour. The dough is naturally stickier.
As long as it’s holding together and forming a ball, you’re good. Don’t add too much flour trying to “fix” it.
Can I make this without a mixer?
100% yes. This recipe is designed for hand mixing and kneading.
Your arms might get tired, but that’s what makes it satisfying.
My bread is too dense. What happened?
Usually one of three things:
- Yeast wasn’t fresh or water killed it
- Didn’t rise long enough
- Added too much flour
Next time, make sure your yeast foams up nicely and give the dough plenty of time to rise.
Can I use instant yeast instead of active dry?
Yep. Use the same amount.
Skip the proofing step and add it directly to the dry ingredients.
Why do I need to score the top?
Scoring controls where the bread expands as it bakes.
Without it, the bread cracks randomly and rises unevenly. Plus it looks way cooler with those deliberate slashes.
Can I make this in a bread machine?
You can, but you’ll need to adjust the recipe and process.
Add liquids first, then dry ingredients. Use the whole wheat or basic setting.
How can I tell when the bread is done?
Three ways:
- It’s dark golden brown
- Sounds hollow when you tap the bottom
- Internal temp is 190°F
Use all three methods for best results.
Why does my bread taste bitter?
Over-fermentation.
If your dough rises too long (especially in a warm spot), it develops a bitter, sour taste.
Stick to the recommended times.
Can I halve this recipe?
You can, but I don’t recommend it.
The effort is the same for one loaf or two. Make both, freeze one, and thank yourself later.
What’s the white stuff on my bread after a few days?
That’s just dried flour or starch coming to the surface.
Totally normal and safe. Just brush it off.
Quick Reference Card
At a Glance
⏱️ Prep: 30 minutes
⏱️ Rise: 2 hours total
⏱️ Bake: 40 minutes
⏱️ Cool: 30 minutes
📊 Difficulty: Intermediate
🍞 Yield: 2 loaves (24 slices)
❄️ Freezer-friendly: Yes
Must-Remember Points
- Water temperature: 110°F
- Dough should be sticky (that’s normal)
- First rise: doubled in size
- Second rise: 1 inch above pan
- Don’t skip scoring
- Let it cool before slicing
Wrapping Up
There’s something pretty special about making your own bread.
The smell. The texture. The fact that you can actually pronounce every ingredient.
And rye bread in particular has this hearty, satisfying quality that makes even the simplest meal feel a little more special.
Give this recipe a try this weekend.
Toast a slice with butter while it’s still warm. Make a sandwich that’s actually worth eating. Or just enjoy the process of creating something from scratch.
And when you do make it, come back and let me know how it turned out.
Did you add anything different? What did you eat it with? Did your kitchen smell as amazing as I promised?
Drop a comment below. I read every single one, and I love hearing how people make recipes their own.


