
Stop buying overpriced “artisan” whole wheat bread that goes stale in two days. This homemade version is softer, fresher, and costs pennies per loaf.
I used to think homemade bread was this complicated thing that required a stand mixer, special skills, and half your day.
Turns out I was completely wrong.
This whole wheat bread recipe is stupid simple. Like, mix-it-in-one-bowl simple. And it makes two loaves that smell so good your neighbors will probably text asking what you’re baking.
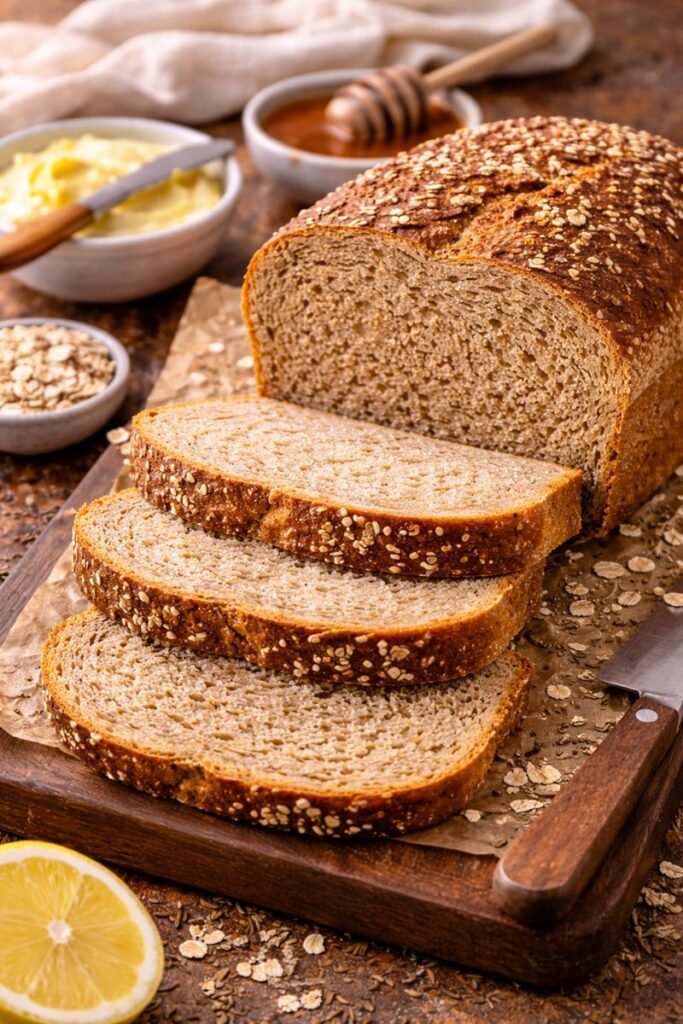
The texture is soft and fluffy (none of that dense, cardboard-y whole wheat bread you get at the store), and it stays fresh for days.
I’ve been making this on repeat for the past month and my husband keeps asking me to make more before we even finish the first loaf.
Fun fact: Most store-bought whole wheat bread has over 20 ingredients, including preservatives you can’t pronounce. This recipe? Just 7 simple ingredients. 🍞
Here’s everything you need to know.
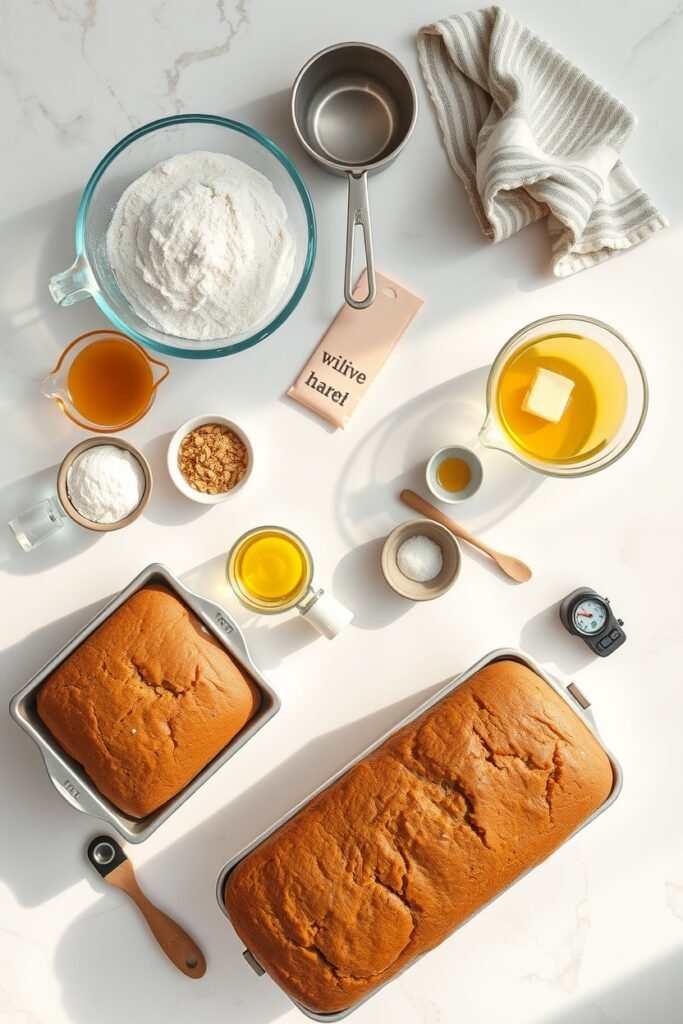
What You’ll Need
The Ingredients
| Ingredient | Amount | Notes |
|---|---|---|
| Whole wheat flour | 4 cups | The star of the show |
| All-purpose flour | 2 cups | Keeps it light and fluffy |
| Active dry yeast | 2 ¼ tsp (1 packet) | Must be fresh |
| Warm water | 2 ½ cups | 110°F is perfect |
| Honey | ⅓ cup | Adds sweetness |
| Olive oil | ¼ cup | Or melted butter |
| Salt | 1 tbsp | Don’t skip this |
| Melted butter | 2 tbsp | For brushing |
Tools You’ll Need
Recommended for you : rye bread recipe
✓ Large mixing bowl
✓ Measuring cups and spoons
✓ Kitchen towel or plastic wrap
✓ 2 loaf pans (9×5 inch)
✓ Whisk or wooden spoon
✓ Instant-read thermometer (optional)
✓ Pastry brush
Pro Tips From My Kitchen
1. Yeast is picky about temperature 🌡️
Too hot and you’ll kill it. Too cold and it won’t activate. The water should feel warm to the touch but not hot.
No thermometer? Test it on your wrist like you would baby formula. It should feel pleasantly warm, not burning.
2. Don’t skip the rise time
I know it’s tempting to rush this part, but the rise is what gives you that soft, fluffy texture.
Cold kitchen? Turn your oven to 200°F for one minute, turn it off, and let the dough rise in there with the door closed. Game changer.
3. The dough should be slightly sticky
Whole wheat dough is supposed to be a bit tacky. If it’s too dry, your bread will be dense.
“If you can’t resist adding more flour, only add a tablespoon at a time. Resist the urge to make it perfect. Sticky is good.”
4. Brush with butter right after baking
This gives you that soft, golden crust that makes store-bought bread jealous.
5. Let it cool completely before slicing
I know this is torture, but cutting into hot bread will give you gummy slices. Wait at least 30 minutes. Trust me on this one.
Substitutions and Variations
Swap These If You Need To:
| Original | Substitute | Result |
|---|---|---|
| Honey | Maple syrup, agave, or brown sugar | Slightly different sweetness |
| Olive oil | Melted coconut oil or butter | Richer flavor |
| All-purpose flour | More whole wheat | Denser, heartier bread |
| Active dry yeast | Instant yeast (same amount) | Skip activation step |
Make It Your Own:
Seeds & nuts: Add ¼ cup sunflower seeds, flax seeds, or chopped walnuts
Herbs: Mix in 2 tbsp fresh rosemary for a savory version
Sweet twist: Add ½ cup dried cranberries or raisins
Vegan version: Use maple syrup instead of honey, olive oil instead of butter
Extra fiber: Replace 1 cup all-purpose flour with oat flour
Make Ahead Tips
| Method | Instructions | Perfect For |
|---|---|---|
| Overnight dough | After first rise, punch down, shape, cover, and refrigerate overnight. Bring to room temp (30 min) then bake. | Busy mornings |
| Freeze shaped loaves | Shape into loaves, wrap tightly, freeze up to 3 months. Thaw in fridge overnight. | Meal prep |
| Bake and freeze | Cool completely, slice, freeze in bags. Toast from frozen. | Quick breakfasts |
People also like : bread rolls recipe
How to Make Whole Wheat Bread
Step 1: Activate the yeast (10 minutes)
Pour the warm water into your large mixing bowl.
Sprinkle the yeast over the top and add 1 tablespoon of the honey.
Give it a gentle stir and let it sit for 5-10 minutes.
What you’re looking for: Foamy, bubbly top layer (looks like cappuccino foam)
If nothing happens: Your yeast is dead or your water was too hot. Start over.
Step 2: Mix the wet ingredients (2 minutes)
Add the remaining honey and olive oil to the yeast mixture.
Whisk it together until combined. It should look like cloudy lemonade.
Step 3: Add the flour and salt (3 minutes)
Add the whole wheat flour, all-purpose flour, and salt to the bowl.
Stir everything together with a wooden spoon until it forms a shaggy dough.
It’ll look messy and that’s exactly what you want.
Step 4: Knead the dough (10 minutes)
Dump the dough onto a lightly floured surface.
Knead for 8-10 minutes. (Or use a stand mixer with dough hook for 5 minutes on medium speed)
How to know you’re done: The dough should be smooth and elastic. Press your finger into it and it should slowly spring back.
It’s okay if it’s a little sticky. Actually, it should be.
Handpicked for you : banana nut bread recipe
Step 5: First rise (1-1.5 hours)
Lightly oil your mixing bowl.
Place the dough back in, turning it once to coat with oil.
Cover with a damp kitchen towel or plastic wrap.
Let it rise in a warm spot for 1-1.5 hours, or until it doubles in size.
Pro tip: Take a photo when you start the rise. Then compare after an hour. It’s weirdly satisfying to see the difference.
Step 6: Shape the loaves (5 minutes)
Grease your two loaf pans with butter or cooking spray.
Punch down the dough to release the air. (This is the fun part 👊)
Divide it in half.
Shape each half into a rectangle about as wide as your loaf pan, then roll it up tightly from the short end.
Pinch the seam closed and place seam-side down in the prepared pans.
Step 7: Second rise (30-45 minutes)
Cover the loaf pans with a towel and let them rise for another 30-45 minutes.
They should puff up and rise about an inch above the rim of the pan.
This is when you start smelling that yeasty, bread-y aroma that makes you want to skip dinner and just eat bread.
Step 8: Bake (35 minutes)
Preheat your oven to 375°F.
Bake for 30-35 minutes, or until the tops are golden brown and the loaves sound hollow when you tap them.
Temperature check: Internal temp should be around 190°F if you have a thermometer.
Step 9: Finish and cool (10 minutes)
Remove from the oven and immediately brush the tops with melted butter.
Let them cool in the pans for 10 minutes, then turn them out onto a wire rack to cool completely.
The hardest part is waiting. But you didn’t come this far to have gummy bread.
Slice and enjoy with butter, or use for the best sandwiches you’ve ever had. 🥪
Leftovers and Storage
How Long Does It Last?
| Storage Method | Duration | Best For |
|---|---|---|
| Room temperature (bread box/sealed bag) | 3-4 days | Daily use |
| Refrigerator | 7 days | Extending freshness |
| Freezer (whole loaf) | 3 months | Long-term storage |
| Freezer (sliced) | 3 months | Toast-ready slices |
Important: Make sure it’s completely cool before storing or condensation will make it soggy.
Got Stale Bread? Try These:
- Breadcrumbs: Pulse in food processor, freeze in bags
- Croutons: Cube, toss with olive oil and garlic, bake at 375°F for 15 minutes
- French toast: Even better with day-old bread
- Bread pudding: Sweet or savory versions both work
Nutrition Breakdown
Per Slice (based on 24 slices total):
| Nutrient | Amount | % Daily Value |
|---|---|---|
| Calories | 135 | – |
| Protein | 4g | 8% |
| Carbohydrates | 24g | 8% |
| Fiber | 3g | 12% |
| Sugar | 4g | – |
| Fat | 3g | 5% |
| Sodium | 195mg | 8% |
Why it’s better than store-bought:
✓ 3x more fiber than white bread
✓ No preservatives or weird chemicals
✓ Less sugar (most store brands have 6-8g per slice)
✓ You control the ingredients
✓ Costs about $0.30 per slice vs $0.75+ for “artisan” bread
Meal Pairing Suggestions
Breakfast Ideas 🌅
- Avocado toast with everything bagel seasoning
- Almond butter + sliced banana + honey drizzle
- Scrambled eggs + cheese + hot sauce
- Cream cheese + smoked salmon + capers
Lunch Winners 🥙
- Turkey, cheese, lettuce, tomato (classic for a reason)
- Grilled cheese with sharp cheddar (gets perfectly crispy)
- Tuna melt with melted swiss
- Hummus, cucumber, sprouts (vegetarian option)
Dinner Pairings 🍲
- Soup or chili (perfect for dipping)
- Pasta night (for mopping up sauce)
- Curry dishes (the bread soaks up all that goodness)
- Stew or pot roast
Cooking Time Efficiency Tips
Total Time Breakdown:
| Step | Active Time | Passive Time |
|---|---|---|
| Prep & mix | 15 min | – |
| First rise | 5 min | 75 min |
| Shape | 5 min | – |
| Second rise | – | 40 min |
| Bake | 5 min | 35 min |
| TOTAL | 30 min | 150 min |
Real talk: You’re only actively working for 30 minutes. The rest is just waiting.
Time-Saving Hacks:
Speed up the rise: Warm oven method can cut rise time by 15-20 minutes
Make dough in the morning: Let it rise slowly in the fridge all day while you’re at work, shape and bake in the evening
Double the recipe: Make 4 loaves, freeze 2 for later
Prep the night before: Mix dough before bed, refrigerate overnight, bake in the morning for fresh bread
FAQ
Q: Can I use instant yeast instead of active dry yeast?
A: Yes! Use the same amount and skip the activation step. Just mix it directly with the flour.
Q: Why is my bread dense?
A: Usually this means you didn’t let it rise long enough, or you added too much flour. The dough should double in size during the first rise.
Q: Can I make this without a stand mixer?
A: 100%. I make this by hand all the time. Kneading takes a little longer but it’s not difficult. Plus, it’s a great arm workout. 💪
Q: How do I know when the bread is done?
A: It should be golden brown on top and sound hollow when you tap the bottom. If you’re unsure, use a thermometer. The internal temp should be around 190°F.
Q: Can I make rolls instead of loaves?
A: Absolutely! After the first rise, divide the dough into 16-18 pieces, shape into balls, and place on a greased baking sheet. Let them rise for 30 minutes, then bake at 375°F for 15-18 minutes.
Q: Why do I need to brush with butter after baking?
A: It makes the crust soft and gives it a beautiful golden color. If you skip it, the crust will be harder and less appealing. This is the difference between homemade that looks homemade and homemade that looks bakery-quality.
Q: Can I add seeds or oats on top?
A: Yes! After shaping the loaves, brush the tops with a little water or an egg wash, then sprinkle with oats, sesame seeds, or sunflower seeds before the second rise.
Q: My dough is really sticky. What should I do?
A: Whole wheat dough is naturally stickier than white bread dough. If it’s so sticky you can’t handle it, add flour one tablespoon at a time. But a slightly tacky dough is normal and preferred.
Q: Can I use all whole wheat flour?
A: You can, but your bread will be denser and heavier. The all-purpose flour helps keep it light and fluffy. If you want to go 100% whole wheat, add an extra 2-3 tablespoons of water to compensate.
Q: Why didn’t my yeast foam up?
A: Three possible reasons: (1) Your water was too hot and killed the yeast, (2) Your yeast is expired, or (3) Your water was too cold. Check the expiration date on your yeast and make sure your water is around 110°F.
Wrapping Up
If you’ve never made bread from scratch, this whole wheat version is the perfect place to start.
It’s forgiving, doesn’t require fancy equipment, and the result is leagues better than anything you’ll buy at the store.
Plus, there’s something ridiculously satisfying about slicing into a loaf you made yourself. Your kitchen will smell amazing, and you’ll feel like a total domestic goddess (or god).
Try it this weekend and let me know how it turns out.
Drop a comment below with your favorite way to eat it or any questions you have. Did you add seeds? Make it vegan? Turn it into the best grilled cheese of your life?
I’d love to hear from you. 🍞


1 thought on “Whole Wheat Bread That Actually Tastes Better Than Store-Bought”