You know that smell that hits you when you walk past a bakery?
That warm, yeasty, almost buttery aroma that makes you stop mid-step?
That’s what your kitchen is about to smell like.
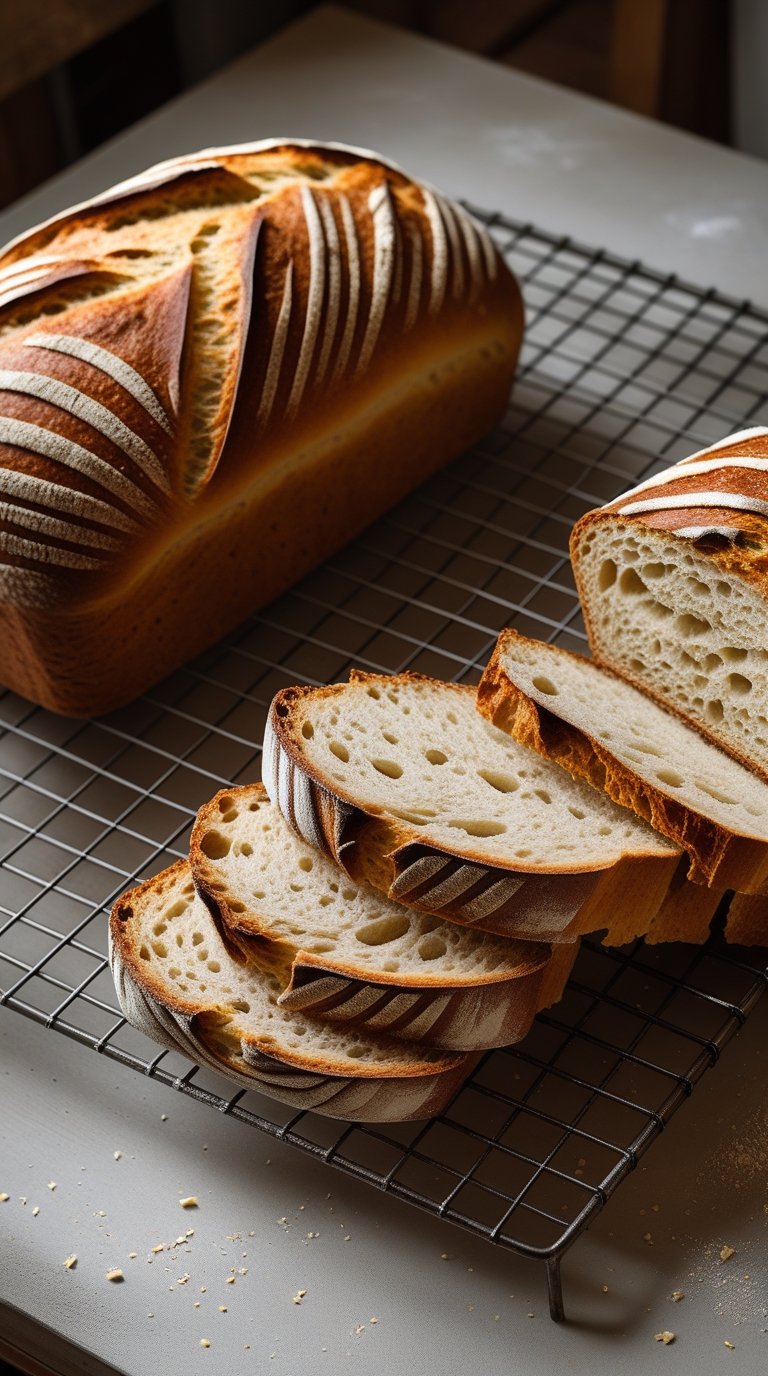
French bread isn’t just bread. It’s this whole other level of home baking. Crusty on the outside, soft and airy on the inside, and honestly tastes like you bought it from some fancy artisan bakery downtown.
I’m talking about real, honest-to-goodness French bread. The kind you can tear apart with your hands. The kind that pairs with literally everything from soup to pasta to a cheese board.
And here’s the thing: it’s easier than you think.
No fancy equipment needed. No special skills required. Just a few simple ingredients, a little patience, and you’ll have bakery-quality bread that’ll make everyone think you secretly went to culinary school.
Trust me, once you pull that golden loaf out of your oven, you’ll never look at store-bought bread the same way again.
What You’ll Need
For the Bread:
| Ingredient | Amount | Why It Matters |
|---|---|---|
| All-purpose flour | 3 cups (plus extra for dusting) | Creates structure and that perfect chewy texture |
| Warm water | 1 ½ cups (110°F) | Activates the yeast and brings everything together |
| Active dry yeast | 2 ¼ teaspoons (1 packet) | Makes the bread rise and adds flavor |
| Salt | 1 ½ teaspoons | Controls yeast activity and adds flavor |
| Sugar | 1 tablespoon | Feeds the yeast and helps with browning |
| Olive oil | 2 tablespoons | Adds tenderness and keeps it from drying out |
For the Egg Wash:
- 1 egg
- 1 tablespoon water
Tools You’ll Need:

✓ Large mixing bowl
✓ Kitchen towel or plastic wrap
✓ Baking sheet
✓ Parchment paper
✓ Sharp knife or bread lame
✓ Small bowl (for egg wash)
✓ Pastry brush
✓ Wire cooling rack
Pro Tips
Let the dough actually rise.
I know waiting is hard (I’m terrible at it too), but this is where the magic happens.
Your bread needs time to develop flavor and that beautiful airy texture. Skip the rise and you’ll end up with dense, sad bread.
Score the top before baking.
Those diagonal slashes aren’t just for looks.
They let steam escape and help your bread expand properly in the oven. Use a sharp knife and cut at a 45-degree angle, about ¼ inch deep.
Create steam in your oven.
Professional bakeries have steam-injected ovens. You don’t need that.
Just place a shallow pan of water on the bottom rack while the bread bakes. The steam helps create that crispy, crackly crust we’re all here for.
Don’t overbake it.
The bread should be golden brown and sound hollow when you tap the bottom.
Overbaking will dry it out and you’ll lose that soft, tender interior.
Cool it completely before slicing.
I know this is torture, but cutting into hot bread releases all the steam and can make it gummy inside.
Give it at least 30 minutes on a wire rack.
Substitutions and Variations
| Instead of This | Try This | What Changes |
|---|---|---|
| All-purpose flour | 1 cup whole wheat + 2 cups AP flour | Nuttier flavor, denser texture, more fiber |
| Sugar | Honey (same amount) | Slightly sweeter, more complex flavor |
| Olive oil | Melted butter | Richer, more buttery taste |
| Plain dough | Add 2 tbsp fresh rosemary | Herb bread perfect for dipping in olive oil |
| Plain dough | Add 3 minced garlic cloves + Italian herbs | Future garlic bread base 🧄 |
No yeast? You can’t really make traditional French bread without yeast, but you could try a quick bread recipe instead. Totally different texture though.
Make Ahead Tips
Option 1: Refrigerate the Dough Overnight
After the first rise, punch it down and stick it in the fridge for up to 24 hours.
This actually improves the flavor.
Just let it come to room temperature before shaping and doing the second rise.
Option 2: Freeze Shaped Loaves
Shape your bread, wrap it tightly in plastic wrap and aluminum foil, and freeze for up to 3 months.
Thaw in the fridge overnight, then let it come to room temperature and do the second rise before baking.
Option 3: Freeze Baked Bread
Wrap cooled bread tightly and freeze for up to 3 months.
Thaw at room temperature and warm in a 350°F oven for 10 minutes to crisp up the crust.
How to Make French Bread

Step 1: Activate the yeast
Pour the warm water into your large mixing bowl.
Sprinkle the yeast and sugar over the top.
Give it a quick stir and let it sit for about 5 minutes. You’ll see it get foamy and bubbly on top.
That’s how you know your yeast is alive and ready to work.
Important: If nothing happens, your water might have been too hot (killed the yeast) or too cold (didn’t activate it). Start over with fresh yeast and water around 110°F.
Step 2: Mix the dough
Add the flour, salt, and olive oil to your yeast mixture.
Stir everything together with a wooden spoon until it forms a shaggy dough.
It’ll look messy at first, but keep going.
Once it’s too thick to stir, use your hands to bring it all together into a ball.
Step 3: Knead the dough
Turn the dough out onto a lightly floured surface.
Knead for about 8-10 minutes. You want it to become smooth and elastic.
Push the dough away from you with the heel of your hand, fold it back over itself, turn it a quarter turn, and repeat.
It’s a good arm workout, not gonna lie.
How to tell if it’s ready: The dough should spring back when you poke it.
Step 4: First rise
Place your dough ball in a lightly oiled bowl. Turn it around so all sides get a little oil on them (this prevents sticking).
Cover the bowl with a damp kitchen towel or plastic wrap.
Put it somewhere warm and let it rise for about 1 to 1 ½ hours. It should double in size.
My trick: I usually put mine in the oven with just the light on. Creates the perfect warm environment.
Step 5: Shape the loaves
Once your dough has doubled, punch it down gently to release the air.
Turn it out onto a lightly floured surface and divide it in half.
Shape each half into a long oval or baguette shape. Roll it gently with your hands, applying light pressure to elongate it.
Place both loaves on a parchment-lined baking sheet, leaving space between them.
Step 6: Second rise
Cover the loaves loosely with a kitchen towel.
Let them rise again for 30-45 minutes. They should puff up nicely but not quite double this time.
While you’re waiting, preheat your oven to 375°F. Place a shallow pan on the bottom rack.
Step 7: Score and brush
Right before baking, make 3-4 diagonal slashes across the top of each loaf with a sharp knife.
Cut about ¼ inch deep at a 45-degree angle.
In a small bowl, beat together the egg and 1 tablespoon of water.
Brush this egg wash over the tops and sides of your loaves.
This is what gives you that gorgeous golden color.
Step 8: Bake with steam
Right before you put the bread in the oven, pour 1 cup of hot water into that shallow pan on the bottom rack.
This creates steam.
Quickly place your baking sheet on the middle rack and close the door.
Bake for 25-30 minutes. The bread should be deep golden brown and sound hollow when you tap the bottom.
Step 9: Cool
Transfer the loaves to a wire cooling rack immediately.
Let them cool for at least 30 minutes before slicing.
I know it’s tempting, but this step is important.
The bread is still cooking a little bit as it cools, and the interior needs to set properly.
Step 10: Slice and enjoy
Once cooled, slice with a serrated bread knife.
Serve with butter, olive oil, soup, cheese, or just eat it plain because it’s that good.
Quick Reference: Baking Timeline
| Step | Time | What’s Happening |
|---|---|---|
| Activate yeast | 5 minutes | Yeast wakes up and gets bubbly |
| Mix & knead | 10-15 minutes | Building gluten structure |
| First rise | 1-1.5 hours | Dough doubles in size |
| Shape loaves | 5 minutes | Forming your bread |
| Second rise | 30-45 minutes | Final puff before baking |
| Bake | 25-30 minutes | Crust forms, bread sets |
| Cool | 30 minutes | Interior finishes cooking |
| Total Time | ~3 hours | Worth every minute ✨ |
Nutritional Breakdown
Per serving (1 slice, based on 16 slices):
| Nutrient | Amount |
|---|---|
| Calories | 95 |
| Carbohydrates | 18g |
| Protein | 3g |
| Fat | 2g |
| Fiber | 1g |
| Sugar | 1g |
| Sodium | 220mg |
Perfect Pairings: What to Serve With French Bread
For Dinner:
🥣 Soups and stews – French onion soup is the classic, but it’s also perfect with tomato soup, chicken noodle, or any hearty stew
🍝 Pasta dishes – Serve alongside spaghetti, lasagna, or any Italian dish for soaking up sauce
🧀 Cheese boards – Slice thin and serve with brie, goat cheese, fig jam, grapes and nuts
For Breakfast:
🍳 Toast it and top with butter and jam
🥞 Make French toast out of day-old slices
For Lunch:
🥪 Makes incredible sandwiches with ham, swiss cheese, and dijon mustard
Storage Guide
| Method | Duration | Best For |
|---|---|---|
| Room temperature (paper bag or bread box) | 2 days | Keeping crust crispy |
| Refrigerator | Not recommended | Makes bread stale faster |
| Freezer (sliced, wrapped tightly) | 3 months | Long-term storage |
| Reviving stale bread (sprinkle with water, 350°F for 5-10 min) | – | Bringing back that fresh-baked texture |
Turn Leftovers Into Something New:
Homemade Croutons: Cut into cubes, toss with olive oil and seasonings, bake at 375°F for 10-15 minutes
Bread Crumbs: Pulse in a food processor and use for coating chicken or topping casseroles
French Toast: Day-old bread actually works better because it soaks up the egg mixture without falling apart
Troubleshooting Guide
| Problem | Likely Cause | Solution |
|---|---|---|
| Bread didn’t rise | Dead yeast or wrong water temp | Check yeast expiration date; use water at 110°F |
| Dense, heavy texture | Not enough kneading or rise time | Knead for full 8-10 min; let rise until doubled |
| Crust too hard | Overbaked or no steam | Reduce baking time; use steam method |
| Crust too soft | Stored in plastic bag | Use paper bag or bread box instead |
| Burnt bottom | Oven too hot or rack too low | Move to higher rack or reduce temp by 25°F |
| Bread collapsed | Over-proofed (rose too long) | Watch rise time carefully; use timer |
FAQ
Why didn’t my bread rise?
Your yeast might be old or dead. Always check the expiration date.
Also, the water temperature matters. Too hot kills yeast, too cold won’t activate it. Aim for around 110°F.
Can I use bread flour instead of all-purpose?
Absolutely! Bread flour has more protein which creates more gluten, giving you an even chewier texture.
Use the same amount.
My crust is too hard. What happened?
You might have baked it too long or at too high a temperature.
Also, make sure you’re using the steam method. Without steam, the crust gets too thick and hard.
Can I make this in a stand mixer?
Yes! Use the dough hook attachment and knead on medium-low speed for about 5-6 minutes instead of kneading by hand.
Why is my bread dense instead of airy?
You might not have kneaded it enough, or you didn’t let it rise long enough.
Temperature also matters. If your kitchen is really cold, the dough will take longer to rise. Be patient.
Can I add seeds to the top?
For sure! After brushing with egg wash, sprinkle sesame seeds, poppy seeds, or everything bagel seasoning on top.
How do I know when it’s done baking?
The bread should be deep golden brown. Tap the bottom and it should sound hollow.
You can also use an instant-read thermometer. The internal temperature should be around 190°F.
My bread is burning on the bottom.
Your oven might run hot, or your baking sheet is too close to the heating element.
Try placing the baking sheet on a higher rack or putting another baking sheet underneath for insulation.
Wrapping Up
There’s something pretty special about baking your own bread.
It’s not just about the end result (though tearing into a warm, crusty loaf is definitely a highlight). It’s about the whole process.
The way the dough feels in your hands. The smell that fills your kitchen. The satisfaction of creating something from scratch.
French bread might seem fancy, but it’s actually one of the most approachable recipes out there.
Just a handful of basic ingredients and a little bit of time.
And once you’ve made it a few times? It becomes second nature.
You’ll start playing around with it. Maybe adding herbs one week, trying whole wheat the next. Maybe shaping it differently or experimenting with toppings.
So grab your ingredients and give it a shot. Your kitchen (and your taste buds) will thank you.
Made this recipe? Drop a comment below and let me know how it turned out! I love hearing about your baking adventures and any tweaks you made to make it your own. 🍞


